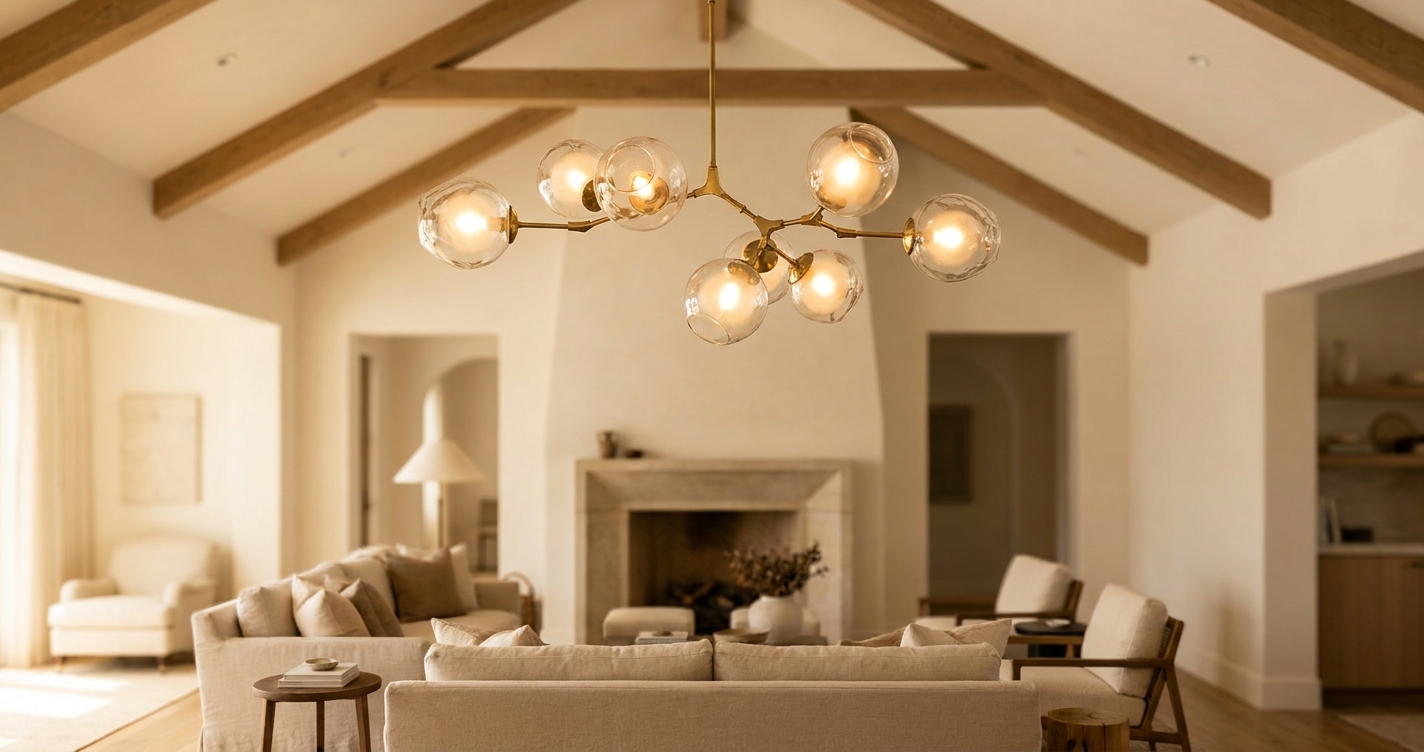
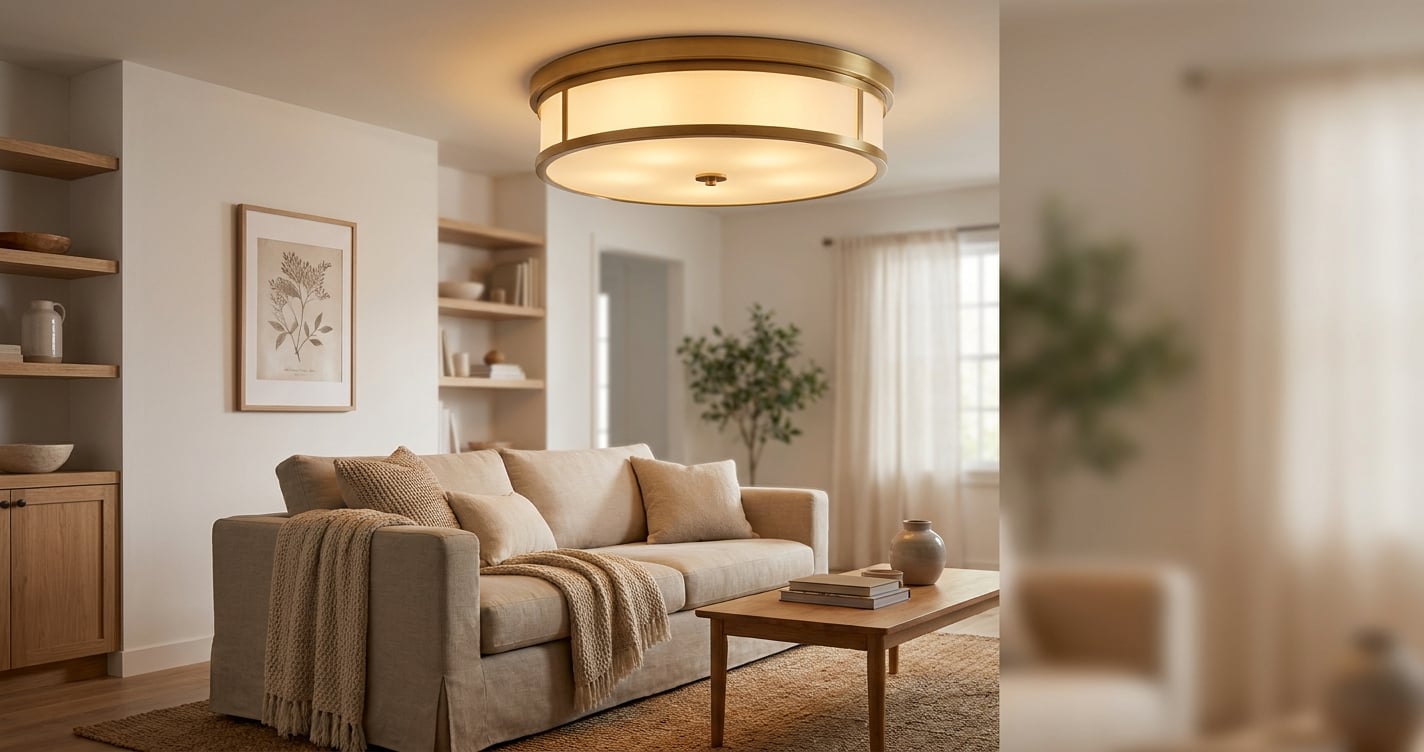
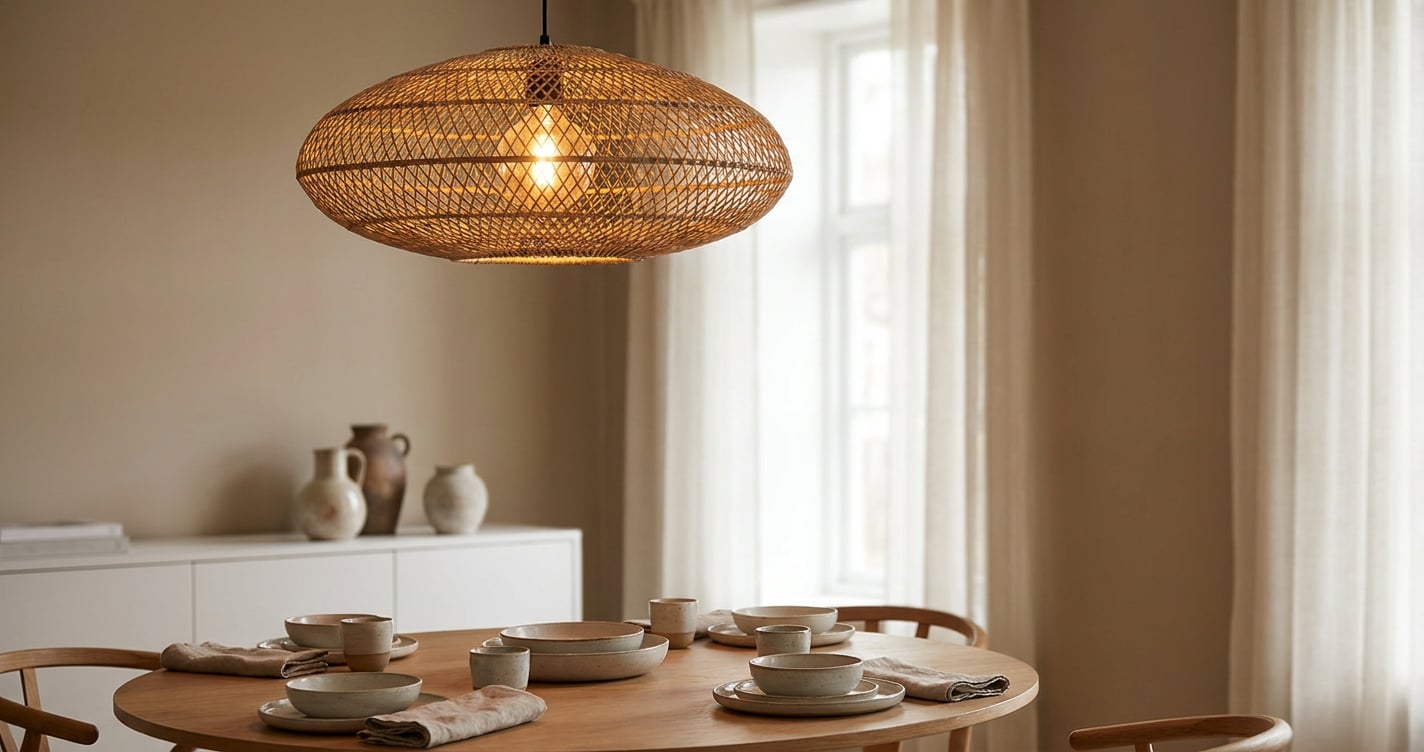
Many homeowners stare at their blank ceilings, wondering how to get that perfect, designer-magazine look with their lighting. It’s a common dilemma. You’ve picked out beautiful fixtures, but now comes the tricky part: getting the pendant placement just right. There’s a real art to it, especially when you’re aiming for proper pendant lighting placement kitchen island designs, but it’s not as daunting as it seems. We’re going to walk through the specifics to help you avoid common mistakes and make your rooms shine. We’ll cover everything from precise measurements to aesthetic considerations, ensuring your chosen pendants enhance your space beautifully.
The Foundation: Why Pendant Placement Matters So Much
Getting your pendant placement right isn’t just about aesthetics, it’s about functionality too. Hang a pendant too low, and you’ll bump your head or block sightlines. Hang it too high, and it’s practically useless for task lighting. It’s a delicate balance, and getting it wrong can make even the most expensive fixture look off. We’re not just illuminating a space, we’re defining it, adding architectural interest, and creating a mood. Thoughtful pendant placement can transform a room from ordinary to extraordinary, guiding the eye and highlighting key features.
Expert Tip: Before you even think about drilling, use painter’s tape or balloons to mock up your chosen pendant’s size and height. Live with it for a day or two. This visual trick can save you a lot of heartache and patching later on, ensuring your ideal pendant placement.
General Rules for Pendant Placement
There are some universal guidelines that apply to almost any pendant light in any room. These aren’t rigid laws, but they’re excellent starting points for smart pendant placement.
- Ceiling Height is Key: For standard 8-foot ceilings, you’ll want the bottom of the pendant to be around 7 feet from the floor in open walkways. For higher ceilings, you’ve got more flexibility. Add 3 inches to that 7-foot height for every extra foot of ceiling height. So, a 9-foot ceiling might mean the bottom of the pendant is 7 feet 3 inches from the floor, for example.
- Sightlines and Headroom: Always consider who will be walking under or sitting near the pendant. You don’t want anyone to feel like they’re about to collide with it. Maintain at least 30-36 inches of clearance above a counter or tabletop. This ensures comfortable movement and clear views.
- Fixture Scale: The size of your pendant needs to match the size of the space and the object it’s illuminating. A tiny pendant over a massive dining table will look lost. A huge one over a small bedside table will feel overwhelming. It’s all about proportion, and it’s a crucial part of effective pendant placement.
Mastering Kitchen Island Pendant Placement
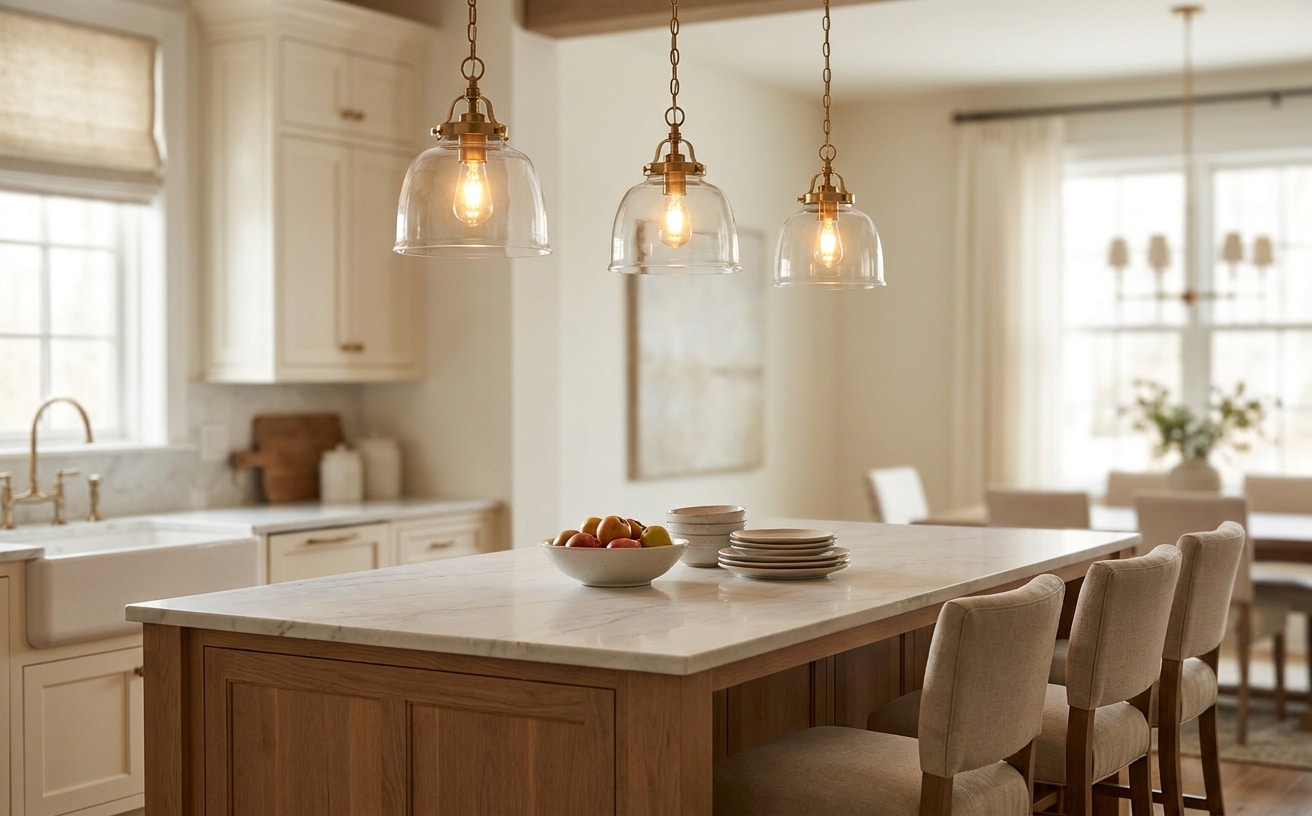
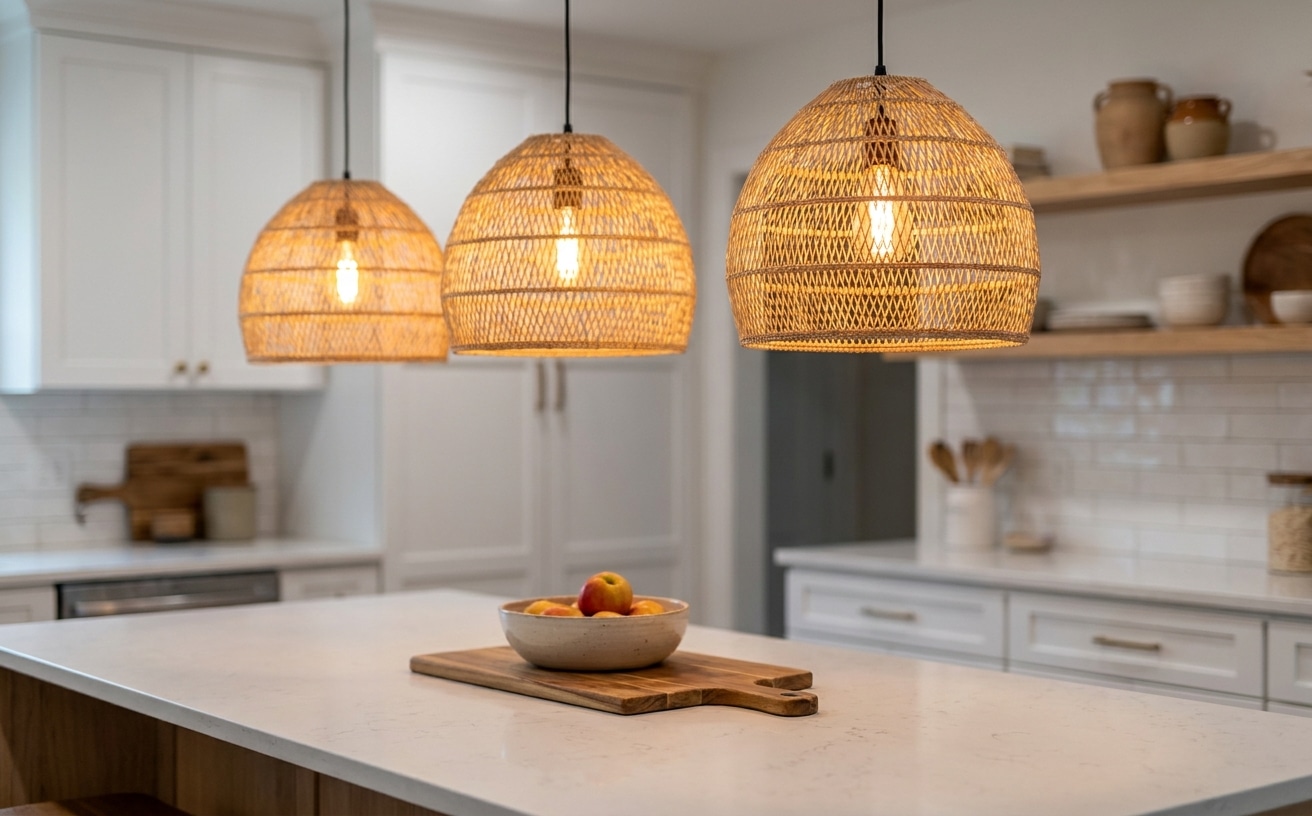
This is probably where homeowners spend the most time debating pendant placement. The kitchen island is often the heart of the home, a workspace, a dining area, and a gathering spot. Proper pendant lighting placement kitchen island designs can truly elevate the space, providing both task lighting and aesthetic appeal.
How Many Pendants for Your Island?
This isn’t just about how many you like, it’s about island length and the scale of the pendants themselves.
- For islands under 6 feet long: One larger pendant might be enough, or two smaller ones. If you choose one, make sure it’s substantial enough to make a statement.
- For islands 6-8 feet long: Two pendants are usually ideal. This provides balanced light and visual interest without overcrowding the space. This is a very common scenario for optimal pendant placement.
- For islands over 8 feet long: Three pendants, or even four smaller ones, will likely be necessary to cover the length evenly. This ensures consistent light coverage across the entire surface.
Kitchen Island Pendant Spacing and Height
Once you know how many pendants you need, you’ll need to figure out the exact spacing for ideal pendant placement.
- Find the Center: Mark the exact center of your island. This will be your starting point for symmetrical arrangements.
- Even Distribution:
- For two pendants: Measure from the center point, then move outwards about 15-20 inches in each direction. This places them roughly 30-40 inches apart, measured center-to-center. This spacing prevents them from looking too close or too far apart.
- For three pendants: Place one pendant directly over the center of the island. Then, measure outwards from that center pendant’s hanging point about 25-30 inches in each direction for the other two. This keeps them visually distinct but evenly spaced, creating a balanced look.
- Height Check: The bottom of your pendant should hang about 30-36 inches above the countertop. If you have very tall family members, you might go slightly higher, up to 40 inches. I’ve seen this mistake a lot: people hang them too low, and it makes the island feel cramped, compromising the visual flow and functionality of your kitchen.
Expert Tip: When choosing pendants for your kitchen island, consider their opacity. Clear or open-cage pendants allow light to spread more broadly, illuminating a larger area, while opaque shades direct light downwards, creating a more focused task light perfect for food prep. This choice significantly impacts the overall lighting effect of your pendant placement.
Dining Table Pendant Placement: Setting the Scene
The dining room pendant is a statement piece. It draws the eye and defines the eating area, setting the mood for meals and gatherings. Correct pendant placement here is crucial for both aesthetics and comfort.
Sizing Your Dining Pendant
- Diameter: A good rule of thumb is that the fixture’s diameter should be half to two-thirds the width of your dining table. So, for a 42-inch wide table, a pendant or chandelier around 21-28 inches wide would be appropriate. This proportion ensures the fixture feels substantial without overpowering the table.
- Shape Matters: If you have a long, rectangular table, you might opt for a linear pendant or multiple smaller pendants instead of one large round fixture. This complements the table’s shape and provides more even light distribution across its length.
Height Over the Dining Table
The bottom of the pendant should typically hang 30-34 inches above the tabletop. This allows for clear conversation across the table without blocking views, while still providing ample light for dining. Remember, this is usually lower than kitchen island pendants because you’re sitting, not standing, at a dining table. Correct pendant placement here is key to a comfortable dining experience.
Bedside Pendant Placement: Smart and Stylish
Swapping out traditional table lamps for pendants above your nightstands is a clever way to free up surface space and add a modern touch to your bedroom. This unique approach to pendant placement can significantly enhance a bedroom’s design.
Bedside Pendant Positioning
- Height: The bottom of the pendant should be around 30-36 inches above the top of your mattress. This places the light source at a comfortable height for reading without shining directly into your eyes. It ensures the light is functional and unobtrusive.
- Spacing from Wall: Hang the pendant so its center is roughly 6-12 inches out from the edge of your headboard or nightstand. This prevents it from feeling too crowded against the wall and allows the light to spread effectively.
| Pros of Bedside Pendants | Cons of Bedside Pendants |
|---|---|
| Frees up nightstand space | Requires electrical wiring |
| Modern, streamlined look | Less flexible for repositioning |
| Creates a custom feel | Can be challenging to install |
For anything involving new wiring or moving existing electrical boxes, I’d strongly recommend hiring a licensed electrician in your area. It’s truly worth every penny for peace of mind and to ensure everything is up to code and safe. Precision in pendant placement is important, and safety is paramount.
Entryway and Hallway Pendant Placement: Making an Entrance
First impressions count, and your entryway pendant is often the first fixture guests see. Thoughtful pendant placement in these areas can create a welcoming and stylish introduction to your home.
Sizing an Entryway Pendant
- Diameter: For an entryway, a common rule is to add the room’s length and width in feet, and that sum is a good guideline for the fixture’s diameter in inches. So, a 10-foot by 12-foot entryway (22 feet total) would look good with a pendant around 22 inches in diameter. This ensures the fixture is proportionate to the space.
- Height: The bottom of the pendant should be at least 7 feet from the floor in areas where people walk underneath it. If your entryway has a very high ceiling (like a two-story foyer), you can go higher, ensuring the fixture fills the vertical space without being too low. For grander entryways, this might mean hanging the pendant much higher to appreciate its full beauty from below.
Understanding Different Pendant Types and Their Placement
The style of pendant you choose also has an impact on its ideal pendant placement. Different types offer distinct visual impacts and light distributions.
- Mini Pendants: These are small and often used in groups of three or more, especially over smaller kitchen islands or breakfast bars. Their compact size means you can hang them a bit closer together, perhaps 18-24 inches apart, to create a clustered look. Their pendant placement is more about creating a constellation of light.
- Drum Pendants: With their wider, cylindrical shades, drum pendants provide a broader wash of light. They work well as single fixtures over dining tables or in entryways where you need more diffused ambient light. Ensure their diameter adheres to the sizing rules we discussed earlier.
- Globe Pendants: Often featuring clear or frosted glass spheres, globe pendants cast light in all directions. They’re versatile and can be used individually or in varying groupings. Their transparent nature means they can often be hung a little lower without feeling visually heavy, but still respect the headroom rules for pendant placement.
- Linear Pendants: Specifically designed for long surfaces like rectangular dining tables or kitchen islands, linear pendants offer even illumination across the length. Their integrated design simplifies pendant placement, as you only need one central mounting point. Ensure its length is appropriate for your surface, not exceeding two-thirds of the table’s length.
Beyond the Basics: Other Considerations for Pendant Placement
There’s more to pendant placement than just measurements. Think about the overall feel and function of your room, and how these choices contribute to the space.
Dimmer Switches for Versatility
Always put your pendants on a dimmer switch. It’s a small detail that makes a huge difference. You’ll want bright light for tasks, but softer, ambient light for relaxing or entertaining. It truly transforms the mood of a room, allowing you to fine-tune the lighting for any occasion. This flexibility enhances your initial pendant placement choices.
Ceiling Medallions and Canopy Size
If you’re using a large, ornate pendant, a ceiling medallion can add an extra layer of architectural detail. Just make sure the medallion’s size is proportionate to the pendant’s canopy. A tiny medallion with a huge canopy will look strange, and vice versa. It’s about creating a cohesive look from ceiling to fixture.
What if My Ceiling Box Isn’t Centered?
This happens more often than you’d think. If your electrical box isn’t perfectly centered over your island or table, you have a few options to adjust your pendant placement:
- Swag Kit: For lighter pendants, a swag hook can allow you to hang the pendant from the existing box and then guide the cord to where you want the pendant to actually hang. This is a common and budget-friendly solution for minor adjustments.
- Track Lighting with Pendants: Some track systems allow you to attach pendant heads, giving you extreme flexibility in placement along the track.
- Canopy Extension Bar: Some manufacturers offer extension bars that allow you to shift the pendant’s hanging point a few inches from the ceiling box, providing a cleaner look than a swag.
- Electrical Work: For a truly custom look, your electrician can move the electrical box. This is definitely the most involved option but offers the cleanest finish and perfect pendant placement. For this, and any other significant electrical changes, you’ll definitely want a qualified electrician.
When you’re shopping for new fixtures, our pendant lights collection has a range of options at different price points, perfect for any room in your home. We’re confident you’ll find a style that suits your taste and fits perfectly into your carefully planned pendant placement.
Frequently Asked Questions
What’s the best height for a pendant over a kitchen sink?
For a pendant over a kitchen sink, aim for the bottom of the fixture to be about 30-36 inches above the sink’s rim. This ensures good task lighting without obstructing your view or feeling too low when you’re washing up. It’s similar to island pendant placement but often a bit higher if you’re standing directly in front of it.
Can I mix different pendant styles in one room?
Yes, you absolutely can mix pendant styles, especially if they share a common element like finish, material, or a similar design aesthetic. For example, you might use two different shaped pendants over an island if they both have the same metallic finish. Just be sure there’s an intentional connection so it looks curated, not chaotic, in your overall pendant placement scheme.
How do I know if my pendant is too big or too small?
A pendant is too big if it overwhelms the space, obstructs views, or makes the room feel cramped. It’s too small if it looks lost, doesn’t provide adequate light for its intended purpose, or appears insignificant compared to the furniture below it. Trust your eye, and remember that mock-up trick with painter’s tape to visualize the pendant placement.
What’s the ideal pendant placement for a reading nook?
For a reading nook, the bottom of the pendant should generally be around 20-24 inches above your head when seated comfortably. This directs light right where you need it for reading, minimizing shadows and eye strain. Make sure it’s positioned slightly to the side or front of your reading chair, not directly above, to avoid glare.
Is there a rule for the minimum distance between multiple pendants?
While there isn’t a hard and fast rule, a good guideline for multiple pendants is to ensure there’s at least 15-20 inches of space between the centers of each fixture. This allows them to breathe visually and prevents them from looking cluttered. The overall scale of the pendants and the length of the surface they’re lighting will influence this spacing, so adjust your pendant placement accordingly.
Getting your pendant placement just right can feel like a puzzle, but with these guidelines, you’re well on your way to a beautifully lit home. Don’t be afraid to experiment a little, and always prioritize both aesthetics and functionality. We’re confident you’ll find the perfect spot for your stunning new lights.