Planning a lighting scheme can feel overwhelming, especially when you’re aiming for that clean, modern look of recessed lighting. You don’t want a ceiling peppered with too many fixtures, but you also definitely don’t want dark corners. Getting the right how to layout for your space makes all the difference, transforming a room from merely lit to beautifully illuminated. It’s an art, really, balancing practicality with aesthetics. We’ll walk through the process of how to layout recessed lighting design so your home feels perfectly bright, never harsh.
Understanding Recessed Lighting: More Than Just a Hole in the Ceiling
Before we dive into the specifics of placement, let’s quickly touch on what recessed lighting actually is. These fixtures, often called can lights or pot lights, are installed directly into the ceiling, with only the trim visible. They’re fantastic for providing general ambient light, task lighting, or even accent lighting. The key is knowing which type to use and where. You’ll find different sizes, beam spreads, and trim styles, and choosing the right combination is crucial for your overall design. Don’t worry, it’s simpler than it sounds once you break it down.
Types of Recessed Lights: Choosing Your Fixture
When you’re trying to figure out how to layout your system, knowing your options helps. There are typically two main sizes you’ll work with for residential spaces: 4-inch and 6-inch diameter. Smaller 2-inch and 3-inch options are great for accent lighting or tight spaces.
- 4-inch lights: These are incredibly popular for general ambient lighting in most rooms. They offer a good light output without being too dominant on the ceiling. They’re often my go-to for a modern, understated look.
- 6-inch lights: These provide a wider spread of light, making them suitable for larger rooms or areas where you need more general illumination. You’ll often see them in kitchens or living rooms.
- Gimbal or adjustable trims: These fixtures let you direct the light, which is perfect for highlighting artwork, a fireplace, or a textured wall. You’ll definitely want to consider these for accent lighting.
- Shower trims: Designed to be damp or wet-rated, these are a must-have for bathrooms, especially directly over a shower or tub. They’re sealed to protect against moisture.
Starting Your Recessed Lighting Layout: The Basics
The first step in any lighting plan is to understand your room. What’s its purpose? Where’s the furniture going? What feeling do you want to create? These questions dictate everything from the number of lights to their specific placement. You’re not just adding lights; you’re designing an experience.
Room Purpose and Function
Think about what activities happen in each space. A kitchen needs bright, even task lighting over countertops, while a living room might need more flexible ambient light, perhaps with some accent lighting for art. A bedroom usually wants softer, more diffused light. If you’re planning a home office, you’ll need good overhead light that doesn’t cause glare on screens. This initial assessment is fundamental to how to layout your lights effectively.
- Sketch your room: Draw a simple bird’s-eye view of your room on graph paper. Include doors, windows, and any built-in furniture like cabinets or islands.
- Rough in furniture placement: Mark where your sofa, bed, dining table, desk, or kitchen island will go. This is crucial for avoiding awkward shadows or lights directly over seating where they might cause glare.
- Identify key areas: Pinpoint where you’ll need task lighting (kitchen counters, reading nooks, desks) and where you want accent lighting (art, shelving, architectural features).
Expert Tip: Don’t just light the center of the room. That’s a common mistake I’ve seen a lot! Focusing only on the middle often leaves the edges of the room feeling dark and creates unflattering shadows. Always aim to illuminate walls and work surfaces.
Calculating Spacing and Number of Fixtures
This is where the math comes in, but don’t worry, it’s fairly simple. We’re aiming for even light coverage without creating a “runway effect” of lights lined up like a grid. The rule of thumb for spacing depends largely on your ceiling height and the fixture size.
General Spacing Guidelines
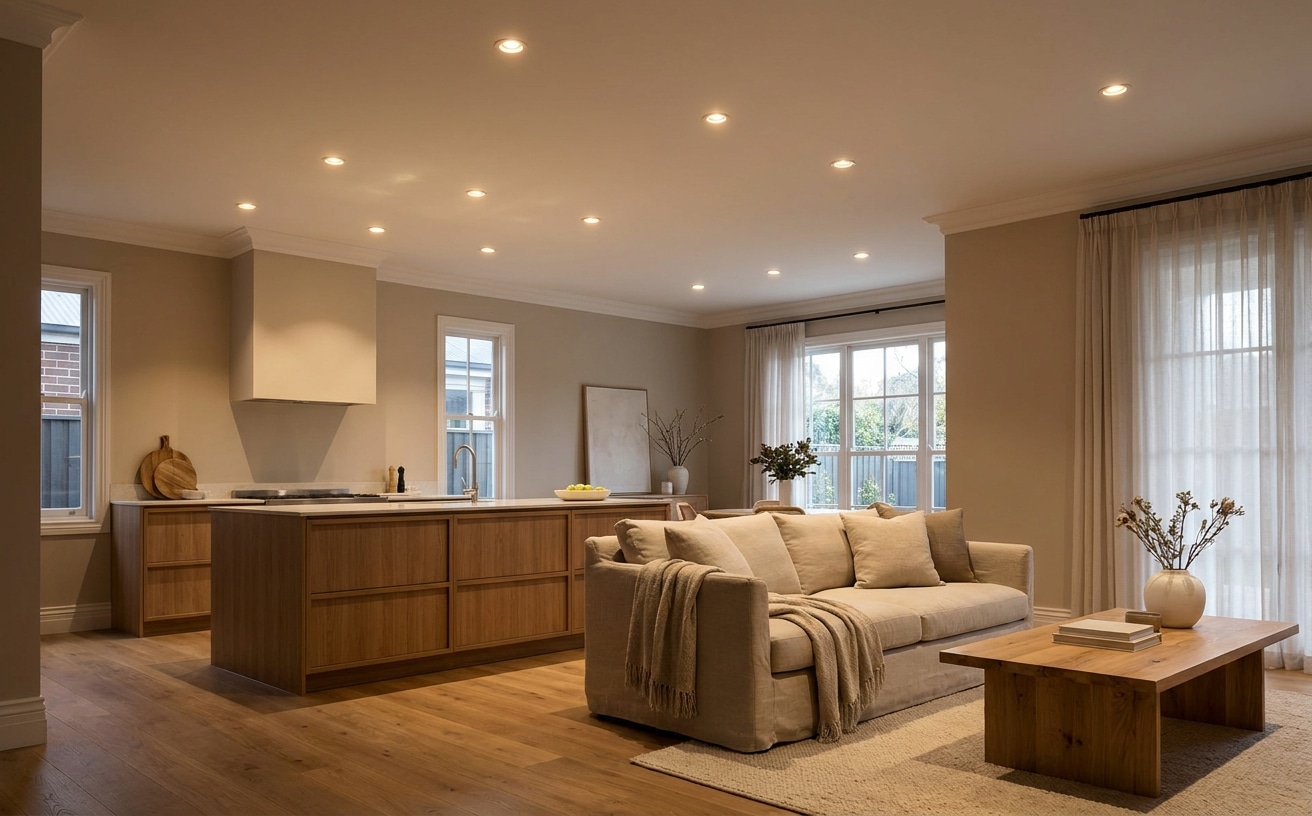
A good starting point for how to layout your recessed lights is to use half your ceiling height as the distance between each fixture and from the walls.
- For an 8-foot ceiling: Place lights roughly 4 feet apart. Keep them about 2 feet from the walls.
- For a 9-foot ceiling: Space lights approximately 4.5 feet apart, and 2.25 feet from the walls.
- For a 10-foot ceiling: Aim for 5 feet between lights, and 2.5 feet from the walls.
These are starting points. You’ll adjust based on the light’s beam spread and the specific needs of the room. For example, a wider beam might allow for slightly wider spacing.
How to Layout Lights for General Illumination
Let’s take a common room size. Say you have a 12-foot by 15-foot living room with an 8-foot ceiling.
- Determine spacing: With an 8-foot ceiling, we’ll aim for roughly 4 feet between lights and 2 feet from the walls.
- Mark initial wall distance: Draw lines 2 feet in from each wall. This creates your “lighting zone.”
- Place first row: Along one 15-foot wall, starting 2 feet in, you’ll have 11 feet of space (15 – 2 – 2). If lights are 4 feet apart, you could place lights at 2 feet, 6 feet, and 10 feet from one end. That’s 3 lights.
- Place subsequent rows: Across the 12-foot dimension, you have 8 feet of lighting zone (12 – 2 – 2). You could place lights at 2 feet and 6 feet from one end. That’s 2 rows.
- Total: So, 3 lights per row x 2 rows = 6 lights. This gives you a grid of 3×2.
This simple method helps you calculate the number of lights needed for a basic, even spread. However, for a truly effective how to layout recessed lighting design, you’ll want to consider other factors.
Layering Your Lighting: Beyond Just General Light
A truly well-lit room doesn’t rely on just one type of light. You’ll want layers: ambient, task, and accent. Recessed lighting is incredibly versatile and can handle all three.
Task Lighting with Recessed Cans
In kitchens, task lighting is paramount. Over countertops, you’ll want lights placed closer to the front edge (about 18-24 inches out from the wall) to illuminate your workspace without casting shadows from your body. You’ll typically use 4-inch or 6-inch fixtures here. For a kitchen island, space lights evenly over the work surface, usually 2-3 feet apart, depending on the island’s length.
In bathrooms, place lights strategically over the vanity for grooming tasks. I’ve found that placing them too far back can create shadows under the chin, which isn’t ideal. Sometimes, sconces on either side of the mirror are a better choice to complement the overhead recessed lights.
Accent Lighting for Drama
This is where you can really make a room shine. Use adjustable (gimbal) recessed lights to highlight specific features.
- Artwork: Position a light so its beam hits the center of the artwork. You’ll want to experiment with the distance from the wall to get the perfect angle.
- Fireplaces: A couple of adjustable lights aimed at the mantel or hearth can create a lovely focal point.
- Bookcases or built-ins: Small, well-placed recessed lights can draw attention to your cherished items.
| Pros of Layered Lighting | Cons of Single-Purpose Lighting |
|---|---|
| Creates depth and visual interest | Flat, uninviting illumination |
| Supports various activities in one room | Limited functionality, poor task support |
| Enhanced mood and atmosphere control | Harsh or dim, difficult to adjust |
| Reduces shadows and glare | Often creates unwanted shadows |
Special Considerations and Common Pitfalls
Even with the best plan, there are always unique aspects to a room that require a little extra thought. Avoiding common mistakes is key to a successful recessed lighting design.
Sloped Ceilings
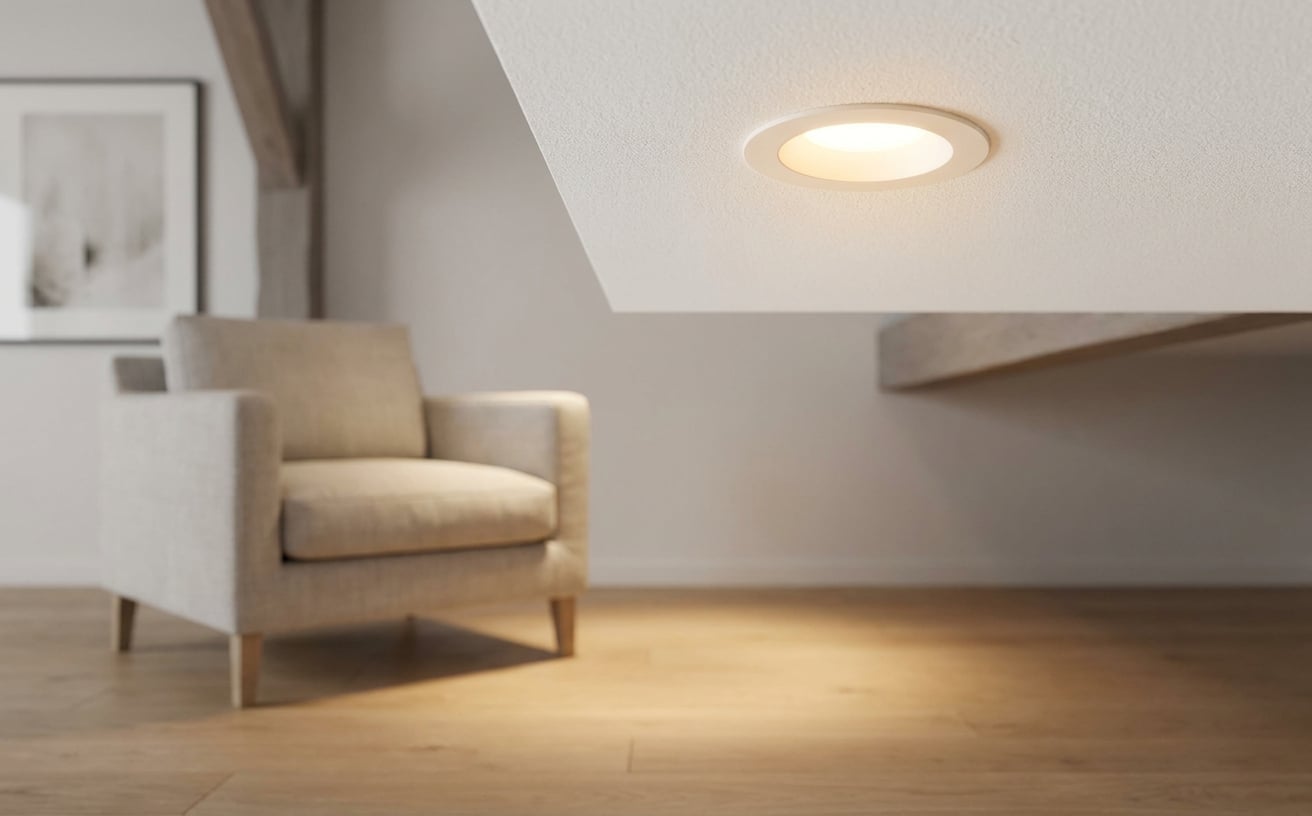
Sloped ceilings, often found in attics or vaulted rooms, can be tricky. You’ll need specialized “sloped ceiling” recessed housings that are designed to sit flush with the angle of the ceiling. Don’t try to force a standard can light into a sloped ceiling; it just won’t look right. Plan your how to layout carefully here, maintaining consistent spacing relative to the floor, not just the ceiling surface.
Avoiding the “Swiss Cheese” Effect
The “Swiss cheese” effect is when you have too many lights, making the ceiling look cluttered and over-punched. Less can definitely be more. Focus on strategic placement rather than sheer quantity. Often, combining recessed lights with other fixture types (like a beautiful chandelier or a few decorative pendants) can provide better light and visual interest than an all-recessed ceiling. If you’re shopping for recessed lights, our recessed lighting collection has a range of options at different price points.
Dimmer Switches are Your Friend
I can’t stress this enough: always put your recessed lights on dimmer switches. They’re not just for mood; they help extend the life of your bulbs and let you adjust the light output for different times of day or activities. You’ll want to control different layers of light independently (e.g., general ambient lights on one dimmer, task lights on another). This versatility is a non-negotiable part of a good how to layout plan.
How to Layout Your Switches for Convenience
Think about how you’ll enter and move through the room. You don’t want to walk into a dark room to find the switch.
- Entry points: Place switches near the main entrance to a room.
- Two-way or three-way switches: For larger rooms with multiple entry points, use two-way (or three-way) switches so you can turn lights on or off from different locations.
- Zone control: Group lights into zones that make sense. For example, in a kitchen, general lights on one switch, island lights on another, and under-cabinet lights on a third.
Remember, while planning the layout is a DIY project, any electrical work involving new wiring or modifying existing circuits should always be handled by a licensed electrician. It’s truly an investment in your safety and peace of mind.
Final Review of Your Recessed Lighting Design
Once you’ve got your plan sketched out, take a step back and review. Imagine yourself in the room at different times of day.
- Is there enough light for all activities?
- Are there any dark spots or areas of harsh glare?
- Will the lights highlight the features you want to emphasize?
- Does the overall look feel balanced and uncluttered?
Making adjustments on paper is much easier than after holes are cut in the ceiling! Don’t be afraid to tweak your how to layout until it feels just right.
Frequently Asked Questions
How far should recessed lights be from the wall?
For an 8-foot ceiling, plan to place recessed lights about 2 feet from the walls. This distance helps wash the walls with light, making the room feel larger and brighter, rather than just lighting the floor.
Can I mix 4-inch and 6-inch recessed lights in the same room?
Yes, you absolutely can mix sizes. It’s a great way to layer lighting. For instance, you might use 6-inch fixtures for general ambient light and smaller 4-inch (or even 2-inch) adjustable fixtures for accent lighting over artwork or shelves. Just ensure the trims complement each other visually.
What type of bulb should I use for recessed lighting?
LED bulbs are the clear winner today. They’re energy-efficient, last a very long time, and come in various color temperatures (warm white to cool white) and beam spreads. Always make sure the bulbs you choose are compatible with your dimmer switches.
How many lumens do I need for a room?
A common guideline is to aim for 20 lumens per square foot for general ambient lighting. So, a 10×12 foot room (120 sq ft) would need about 2,400 lumens. You’d then divide that by the lumen output of your chosen recessed light bulbs to determine the total number of fixtures.
Should all my recessed lights be on one switch?
No, it’s generally better to zone your lighting, especially in larger or multi-functional rooms. Put general ambient lights on one switch, task lights (like those over a kitchen island) on another, and accent lights on a third. This allows for much greater control over the room’s mood and function.
Designing your recessed lighting layout doesn’t have to be a headache. With a bit of planning and these practical guidelines, you’ll create a beautifully lit home that you’ll love living in. If you have specific questions about fixture types or need a little extra guidance, don’t hesitate to reach out to our lighting experts.