You’ve probably been there, sitting in your living room, trying to relax with a good book, but the overhead light is just too bright. Or maybe you’re hosting dinner, and the dining room chandelier feels more like a spotlight than an elegant glow. It’s a common frustration, and one I’ve personally dealt with in almost every home I’ve lived in. The solution, thankfully, is often simpler than you’d think: you can typically add a dimmer switch to almost any light fixture. This guide will walk you through exactly how to add dimmer switch any light in your home, transforming your lighting from one-note to perfectly nuanced.
Why You’ll Want to Add a Dimmer Switch
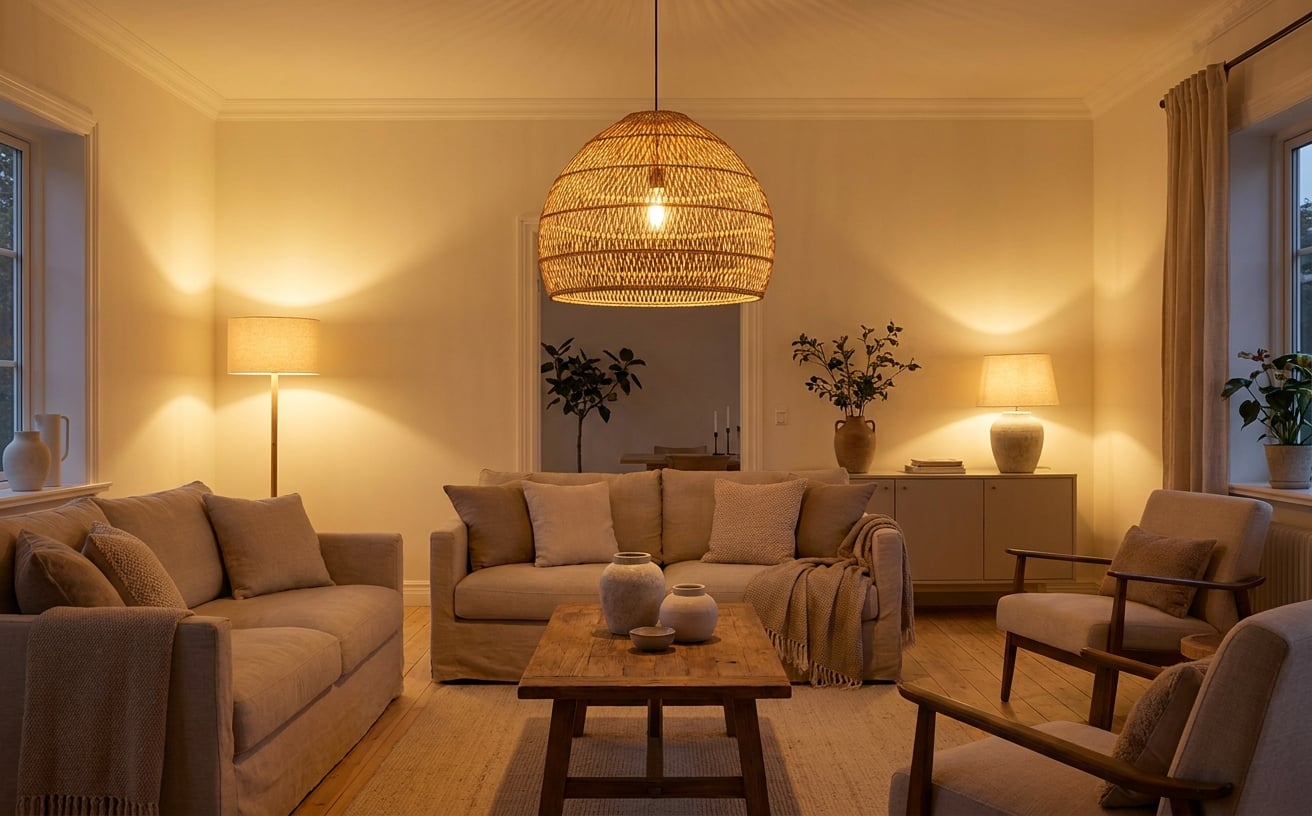
Adding a dimmer switch isn’t just about setting the mood, though it certainly excels at that. It’s about making your home more functional, more comfortable, and even more energy-efficient. You’ll find yourself adjusting the light throughout the day, whether it’s for focused work, a cozy evening, or just a soft nightlight effect.
The Magic of Adjustable Light
Think about it: your kitchen lights might need to be bright for meal prep, but a gentle glow is better for a late-night snack. Your bedroom ceiling light can be full blast for getting dressed, then dimmed low for winding down. It’s not just about turning lights on and off; it’s about tailoring the brightness to the exact moment and activity. Adjustable lighting truly makes a room feel more versatile and welcoming. You’ll wonder how you ever lived without it.
Expert Tip: Not all bulbs are created equal when it comes to dimming. Always check bulb packaging for “dimmable” compatibility. Using non-dimmable bulbs on a dimmer switch can cause flickering, buzzing, or even damage the bulb or the switch itself. This is one mistake I’ve seen a lot of homeowners make, leading to unnecessary frustration.
Understanding Dimmer Switch Types
Before you dive into an installation project, it’s crucial to understand that not all dimmer switches are the same. The type you need depends heavily on the kind of bulbs you’re using and sometimes even the existing wiring in your home. It’s not overly complicated, but it’s an important distinction.
- Standard Incandescent/Halogen Dimmers: These are the most common and generally the simplest. They work by reducing the power to traditional incandescent or halogen bulbs. If your lights use these older bulb types, you’ll likely use one of these. They’re usually the most affordable option.
- LED Dimmers: These are specifically designed for LED bulbs. LEDs draw very little power, so they need a dimmer that can handle that lower load without flickering. Many LED dimmers also require a neutral wire in your switch box to function properly, which older switches often don’t use.
- Low-Voltage Dimmers: If you have specialty lighting like track lighting, cable lighting, or some under-cabinet lights that use low-voltage transformers, you’ll need a specific low-voltage dimmer. These dimmers work in conjunction with the transformer.
- Smart Dimmers: These are the high-tech option. They connect to your home Wi-Fi and can be controlled via an app, voice commands, or even on a schedule. They often come in LED-compatible versions and usually require a neutral wire for installation.
Important Considerations Before You Add a Dimmer Switch
Before you buy a new dimmer, you’ll want to take a quick peek behind your existing switch plate. This little bit of reconnaissance can save you a trip back to the hardware store.
- Wiring: Does your switch box have a neutral wire? As mentioned, many LED and smart dimmers need this. A neutral wire is typically white and often bundled with other white wires in the back of the box, even if it’s not connected to your current switch. If you don’t have one, you’ll be limited to specific 2-wire LED dimmers or traditional incandescent dimmers.
- Load Compatibility: Every dimmer switch has a maximum wattage it can handle. You’ll need to calculate the total wattage of all the bulbs in your fixture. For example, if you have a chandelier with six 60-watt bulbs, that’s 360 watts. Your dimmer must be rated for at least that amount. It’s usually a good idea to pick one with a bit of headroom, like a 400-watt or 600-watt model.
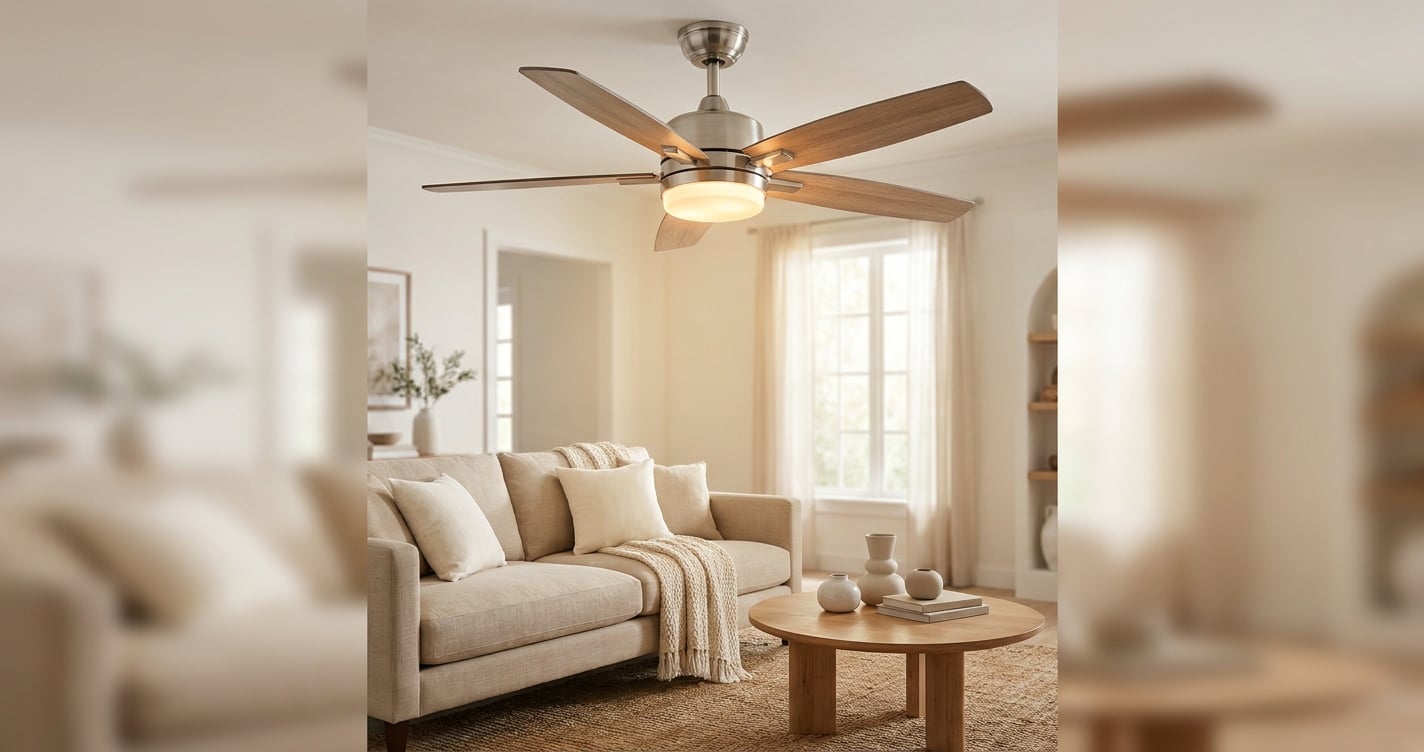
- Fixture Type: While most standard fixtures can accommodate a dimmer, some specialty items, like older fluorescent lights or certain ceiling fans, might require specific types of dimming controls. For instance, if you want to add a dimmer switch to a ceiling fan, you’ll need a fan-rated dimmer that controls both the fan speed and the light, or separate dimmers if the fan and light are wired independently.
Is Your Fixture Dimmable? Checking Bulb and Fixture Compatibility
This is arguably the most critical step to ensure your dimmer works flawlessly. It’s not enough just to pick out a new dimmer switch; you’ve got to make sure your lights are ready for it. I’ve seen this go wrong when folks just assume all modern bulbs are dimmable. They aren’t!
- Bulbs: This is the big one.
- Incandescent and Halogen: Almost always dimmable. You don’t usually need to check for a “dimmable” label.
- LEDs and CFLs (Compact Fluorescent Lamps): These must be specifically marked “dimmable” on their packaging. If they’re not, they won’t work correctly with a dimmer and will likely flicker, hum, or fail prematurely.
- Fixture Itself: In most cases, if you’re using dimmable bulbs, the fixture itself won’t be an issue. However, very old fluorescent fixtures, certain specialty integrated LED fixtures (where the bulbs aren’t replaceable), or fixtures with built-in electronic components might not be compatible. If you’re unsure, check the fixture’s manual or manufacturer’s website.
Compatibility Checklist Before You Add a Dimmer Switch
Making a quick mental (or written) checklist will help you avoid headaches later on.
- What is the bulb type you’re using (incandescent, LED, CFL)?
- Are your bulbs explicitly rated as “dimmable”?
- What is the total wattage of all bulbs in the fixture? (This tells you what dimmer wattage rating you need.)
- Do you have a neutral wire in your switch box if you’re planning on an LED or smart dimmer?
- Is the fixture a standard fixture or something specialized like a ceiling fan with integrated lighting?
| Pros of Adding a Dimmer | Cons of Adding a Dimmer |
|---|---|
| Creates ambiance and mood for any occasion | Initial cost of the dimmer switch |
| Saves energy and extends bulb life | Requires some basic electrical know-how for installation |
| Enhances room functionality and versatility | Incompatibility with non-dimmable bulbs |
| Increases home value and aesthetic appeal | May require a neutral wire in the switch box |
What You’ll Need to Add a Dimmer Switch
Gathering your tools and materials before you start is key to a smooth installation. You don’t want to be halfway through a project and realize you’re missing something crucial. Here’s what you’ll typically need to add a dimmer switch:
- Tools:
- Screwdrivers: Both flathead and Phillips head, usually medium size.
- Wire Strippers: Essential for neatly stripping wire insulation.
- Voltage Tester: A non-contact voltage tester is a must-have for safety. It’ll confirm the power is off before you touch any wires.
- Electrical Tape: Good for securing connections or insulating exposed wires.
- Materials:
- The new dimmer switch: Make sure it’s the correct type (incandescent, LED, smart, etc.) and wattage for your needs.
- Wire Nuts: Often included with the dimmer, but it’s good to have a few extra on hand. You’ll use these to connect wires securely.
- Safety Gear:
- Gloves: Work gloves for protection.
- Safety Glasses: Always protect your eyes when working with electricity.
Expert Tip: Before you buy your new dimmer, take off your existing switch plate and snap a picture of the wiring behind it. This visual reference is incredibly helpful when you’re shopping for a new dimmer, especially if you’re unsure if you have a neutral wire or how many wires are connected. You can show it to a store associate or even an electrician for advice. It’ll give you a clearer picture of your specific setup.
Step-by-Step: How to Add a Dimmer Switch
Now for the hands-on part. Remember, working with electricity requires caution. If you’re ever unsure about any step, it’s always best to call a professional. For anything involving new wiring, replacing an electrical box, or if you’re dealing with a heavy fixture like a large chandelier, I’d strongly recommend hiring a licensed electrician in your area. It’s worth every penny for peace of mind and to ensure everything is up to code.
- Safety First: Turn Off Power. This is the most important step. Go to your home’s main electrical panel (breaker box) and find the circuit breaker that controls the light you’re working on. Flip it to the “OFF” position. Don’t just rely on the wall switch. Once you’ve done that, use your non-contact voltage tester to touch the existing wires in the switch box. If it signals power, you haven’t turned off the correct breaker. Double-check until you confirm no power.
- Remove the Old Switch Plate and Switch. Unscrew the two screws holding the wall plate in place and remove it. Then, carefully unscrew the two screws holding the old switch to the electrical box. Gently pull the switch out of the box, exposing the wires. Don’t yank on the wires.
- Identify Wires. You’ll typically see a few types of wires:
- Hot Wire (Incoming Power): This usually brings power to the switch. It’s often black.
- Load Wire (To the Light): This wire carries power from the switch to the light fixture. It’s also often black, but sometimes red.
- Ground Wire: This is a bare copper wire or a green insulated wire. It’s a safety wire that connects to the metal electrical box or a ground screw on the switch.
- Neutral Wire: This is almost always a white wire. Older switches might not have a neutral connected to them, but you might see a bundle of white wires tucked into the back of the electrical box. Many modern LED and smart dimmers require this connection.
- Disconnect the Old Switch. Before disconnecting, it can be helpful to take a picture of the existing wiring setup for reference. Then, carefully untwist the wire nuts or loosen the terminal screws holding the wires to the old switch. Remove the old switch completely.
- Connect the New Dimmer Switch. This is where you’ll follow the specific instructions that came with your new dimmer. While wiring can vary slightly, here’s a general guide for a single-pole dimmer (controlling one light from one location):
- Ground: Connect the dimmer’s green or bare copper ground wire to the existing ground wire in the box (use a wire nut if connecting to a bundle, or a screw if connecting to the box or another ground).
- Line/Load: Your dimmer will have two wires (often black or labeled “Line” and “Load”) for the hot and load connections. Connect one to the incoming hot wire and the other to the wire going to the light fixture. It usually doesn’t matter which black wire from the dimmer goes to which of the power wires in the box for a single-pole switch. Use wire nuts to secure these connections.
- Neutral (If Required): If your dimmer has a white neutral wire, connect it to the white neutral wire bundle in your electrical box using a wire nut. If you don’t have a neutral wire in your box and your dimmer requires one, you’ll need a different type of dimmer or professional help to run a neutral wire.
- Secure and Test. Carefully push the connected wires back into the electrical box. Gently screw the new dimmer switch into the box. Make sure no bare wires are exposed. Restore power at the circuit breaker. Test the dimmer: turn the light on and off, and slide the dimmer control to ensure it adjusts the light properly.
- Final Installation. Once you’ve confirmed everything works, turn the power off at the breaker again. Install the new wall plate over the dimmer switch, screw it in, and then restore power. You’re all set!
Troubleshooting Your New Dimmer Switch
Sometimes, things don’t go perfectly on the first try. Don’t worry, a few common issues often have simple fixes.
- Flickering Lights: This is usually due to using non-dimmable bulbs, an incompatible dimmer type (e.g., a standard dimmer with LEDs), or loose wire connections. Double-check your bulbs and make sure your dimmer is rated for them.
- Humming or Buzzing: This can also be caused by incompatible bulbs, an overloaded dimmer (too many watts for the dimmer’s rating), or sometimes even a poorly made dimmer. Try reducing the wattage or ensuring proper bulb compatibility.
- Not Dimming at All: If the light just turns on/off but doesn’t dim, it’s almost always non-dimmable bulbs or incorrect wiring. Re-check the bulb packaging and ensure all wires are connected according to the dimmer’s instructions.
If you’re shopping for a new fixture to pair with your dimmer, our ceiling light collection has a range of options at different price points that are often dimmable-ready.
Frequently Asked Questions
Do I need a neutral wire to add a dimmer switch?
Many modern LED and smart dimmers require a neutral wire to function correctly, providing a complete circuit for the dimmer’s internal electronics. Older incandescent dimmers often don’t need one. You’ll need to check your switch box for a bundle of white wires, which typically indicates a neutral connection is available.
Can I add a dimmer switch to a three-way light switch?
Yes, you can add a dimmer switch to a three-way circuit, which controls one light from two different locations. However, you’ll need a specific “three-way dimmer” and you can typically only place it at one of the two switch locations. The other switch in the pair will remain a standard three-way switch.
How much does it cost to add a dimmer switch?
The cost of the dimmer switch itself can range from $15 for a basic incandescent model to $80 or more for advanced LED or smart dimmers. If you hire a licensed electrician, installation costs will vary by region, but it’s a relatively quick job for a pro, usually taking an hour or two.
Will a dimmer switch save energy?
Yes, dimmers save energy by reducing the amount of power supplied to the light bulb. When you dim a light, you’re using less electricity, which translates to lower energy bills. This also extends the lifespan of your light bulbs, especially traditional incandescent ones.
What if my light fixture isn’t dimmable?
If your light fixture itself isn’t dimmable (which is rare, as it’s usually about the bulbs), you won’t be able to add a dimmer switch without replacing the fixture. If it’s just the bulbs that aren’t dimmable, simply swap them out for “dimmable” versions of the same base type and wattage.
Adding a dimmer switch is a straightforward upgrade that can dramatically improve the comfort and functionality of your home. With the right tools and a little care, you’ll be enjoying perfectly adjustable lighting in no time. If you’re looking for new fixtures to pair with your updated dimmers, feel free to explore our extensive collection.