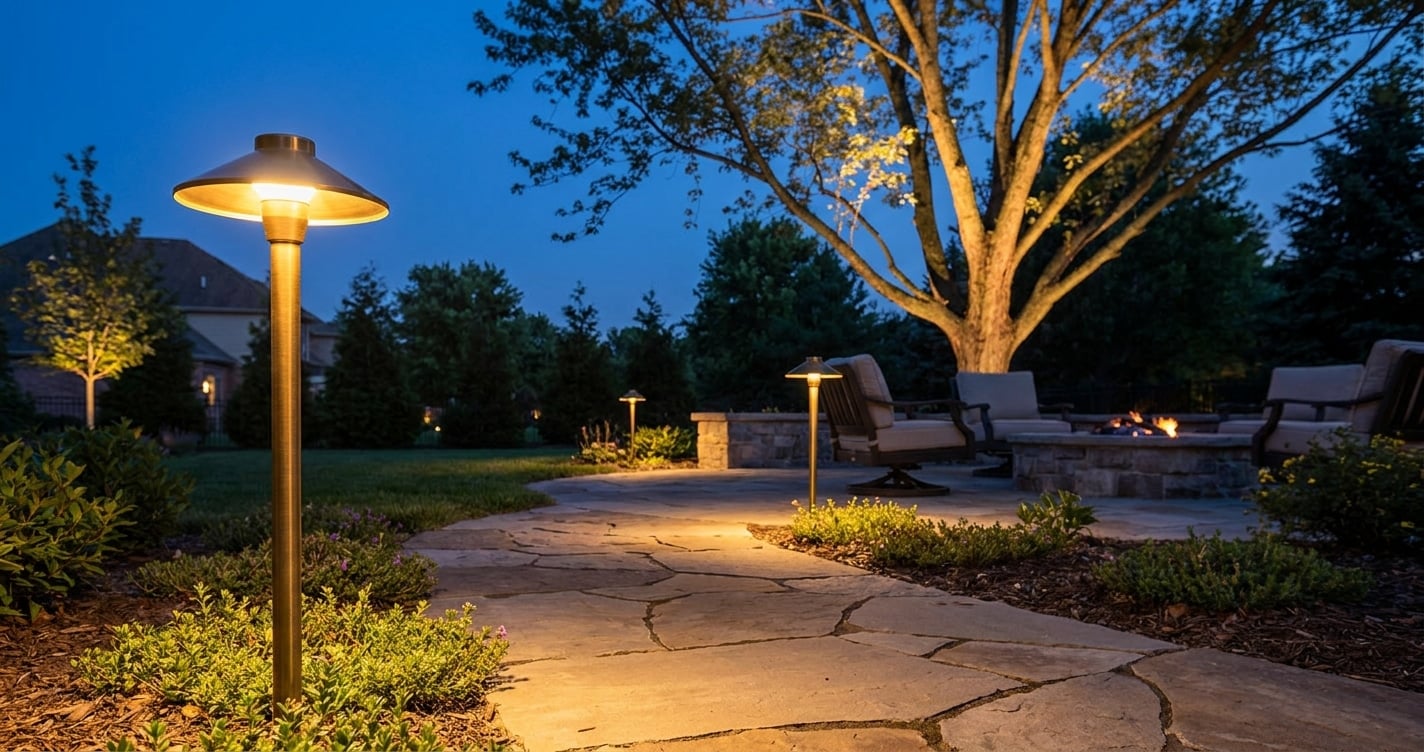
Stepping outside after dark and realizing your beautiful garden or patio disappears into shadow can be a real letdown. You’ve put so much effort into your landscaping, and it deserves to be seen and enjoyed long after the sun goes down. That’s where thoughtful landscape lighting design comes in. It’s not just about adding a few lights; it’s about painting your outdoor spaces with light, creating depth, highlighting features, and making everything feel inviting and safe. Learning how to design a landscape lighting system for home effectively will transform your yard from invisible to incredible, extending your living space and adding significant curb appeal. We’re going to walk through the essential steps to achieve that stunning ambiance.
Why Outdoor Lighting Matters: Beyond Just Looks
A well-planned outdoor lighting scheme does so much more than just look pretty. It dramatically enhances the safety and security of your property. Pathways become easier to navigate, reducing the risk of trips and falls. Dark corners that might deter you from using your yard after sunset become inviting spots to gather or relax. It also acts as a deterrent for unwanted visitors, as a brightly lit home is often less appealing to those looking for an easy target.
Think about how you use your yard. Do you host evening dinners on the patio? Do your kids play outside until dusk? Maybe you just want to admire your prize-winning rose bush from your living room window after dark. Each of these uses calls for different types of light and placement. Your landscape lighting design should be a reflection of your lifestyle, not just a random scattering of fixtures. It’s an investment that pays off in enjoyment and peace of mind.
Planning Your Landscape Lighting Design: The First Steps
Before you even think about buying fixtures, you’ll want to map out your outdoor space. Grab a pen and paper, or use a simple online tool, to sketch out your property. Mark down all the key elements: your house, driveways, pathways, patios, decks, trees, shrubs, flowerbeds, and any water features. This initial drawing is your canvas for creating a fantastic landscape lighting design.
Next, consider the purpose of the lighting in each area. Are you trying to illuminate a wide path, highlight a specific tree, or create a soft glow around a seating area? You’ll want to envision how the light will fall and what mood you’re trying to achieve. Don’t be afraid to experiment with a flashlight at night to get a better sense of how light behaves in your unique space.
Understanding Light Layers in Landscape Lighting Design
Just like in interior design, successful outdoor lighting uses layers. You’ll typically want to think about three main types:
- Ambient Lighting: This is your general, background illumination. It makes spaces usable and comfortable. Think path lights or floodlights that provide a soft, overall glow. It’s not meant to be super bright, just enough to see where you’re going.
- Accent Lighting: This is where you highlight specific features. It could be a beautiful oak tree, a piece of garden art, or the textured stone of your home’s facade. Spotlights are often used for accenting, directing a focused beam onto something you want to draw attention to.
- Task Lighting: While less common outdoors than indoors, task lighting provides brighter light for specific activities. A light over your outdoor grill or a brighter fixture near a workbench in your shed would be examples of task lighting. It’s practical and functional.
When you’re working on your landscape lighting design, you’ll likely use a combination of these layers to create a dynamic and inviting scene. It’s like composing a picture, where each light adds a brushstroke.
Expert Tip: Don’t overlight your space. A common mistake is to make everything too bright, which can create a harsh, institutional feel. Aim for subtle, layered light that creates shadows and depth, rather than washing everything out. Less is often more.
Choosing the Right Fixtures for Your Landscape Lighting Design
Once you have a plan, you can start selecting the right fixtures. There are so many options available, each designed for a specific job. Here’s a rundown of common types you’ll likely use:
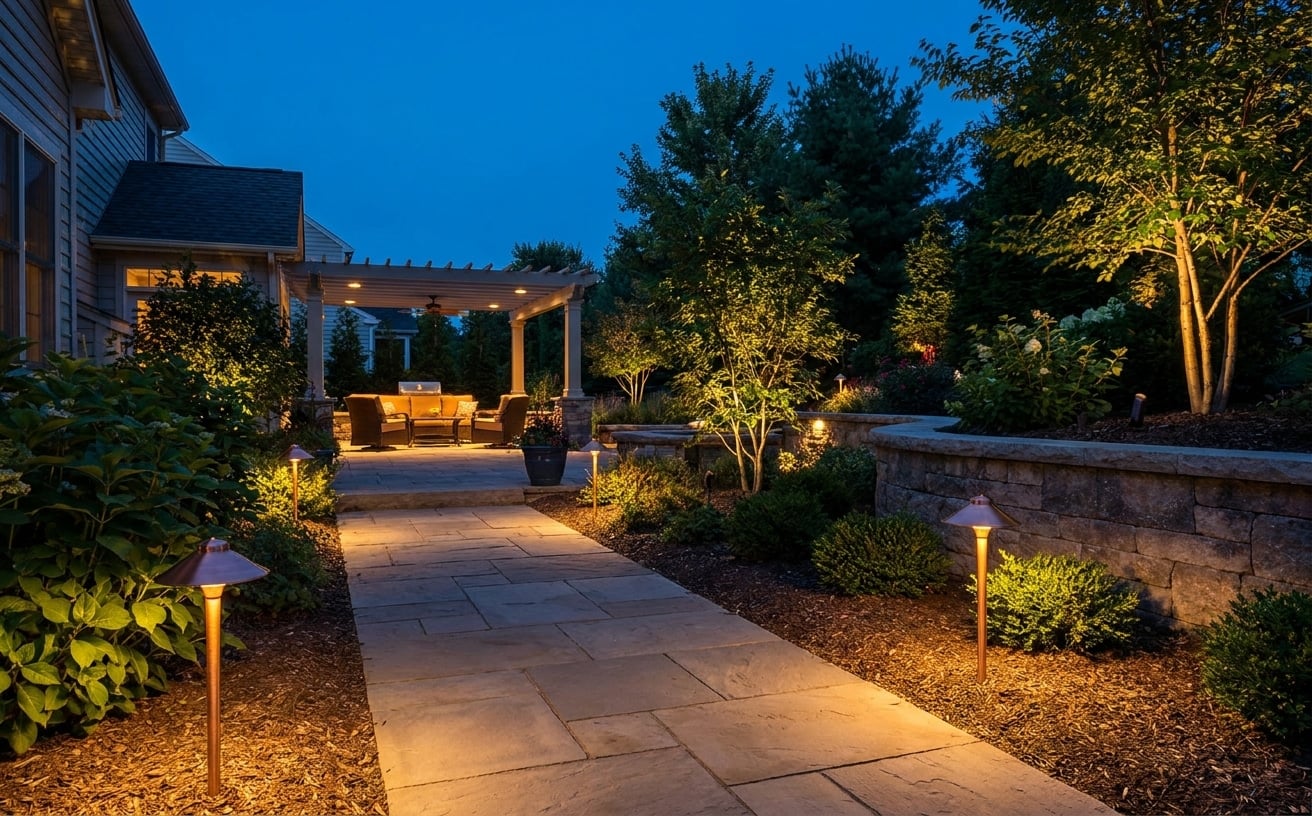
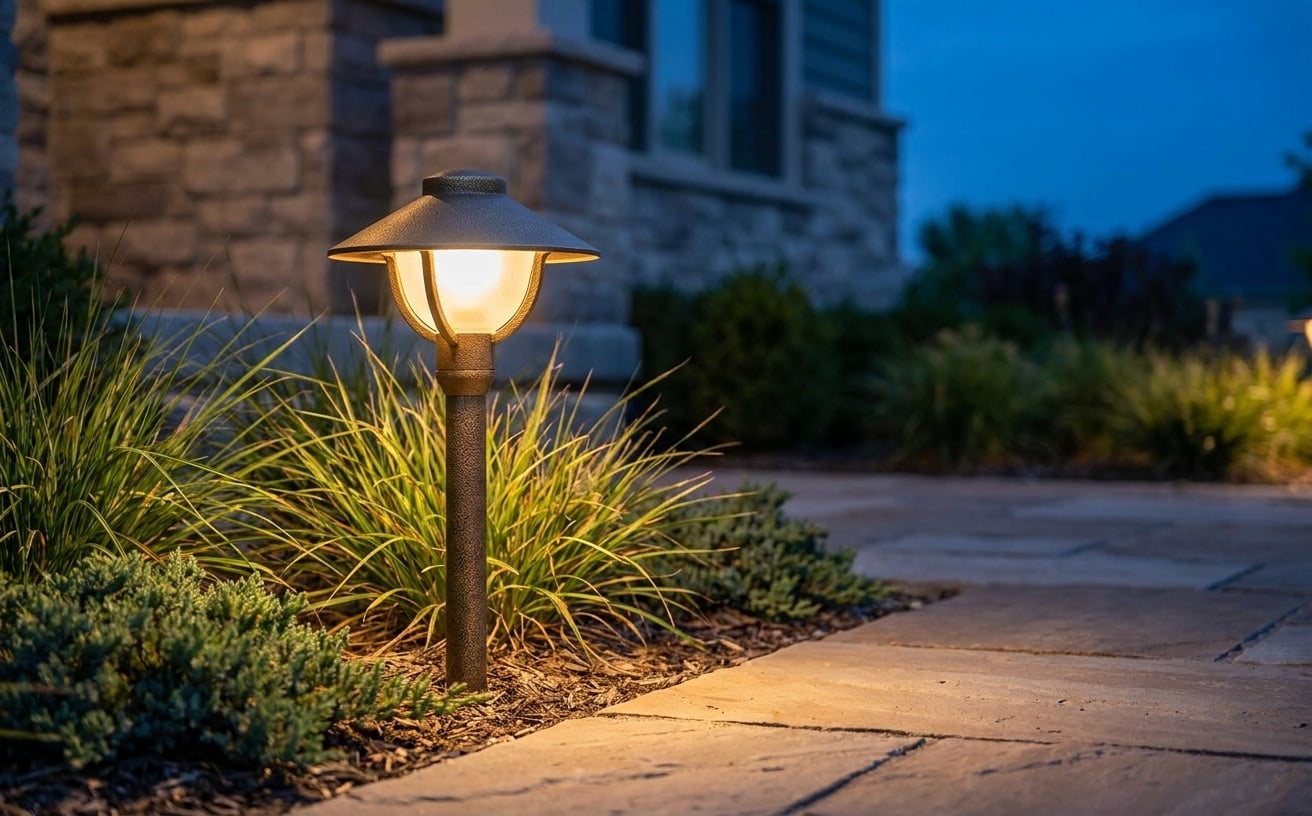
- Path Lights: These are shorter fixtures, usually 12-24 inches high, designed to illuminate walkways and low plantings. They typically cast a downward, diffused light in a circular pattern. You don’t want them too tall or too bright; they should just guide your way.
- Spotlights: These fixtures have a focused beam of light and are perfect for accentuating trees, architectural features, or garden sculptures. They come in various beam spreads, from narrow to wide, allowing you to control the exact area illuminated.
- Wash Lights: Similar to spotlights but with a wider, softer beam. They’re great for evenly lighting a larger area, like a hedge or a wall, without creating harsh hot spots.
- Well Lights: These are recessed fixtures that are buried in the ground, making them almost invisible during the day. They’re ideal for uplighting trees from their base or washing light up a wall. They offer a very clean look.
- Step Lights: Designed to be mounted directly into risers of steps or low walls, these provide subtle illumination to make stairs safe at night. They’re usually small and low-profile.
- Deck Lights: Specifically designed for decks, these can be surface-mounted, recessed into railings, or built into posts to provide ambiance and safety.
When you’re shopping for fixtures, our landscape lighting collection has a range of options at different price points, from sleek modern designs to more traditional looks. Consider the materials too; brass or copper fixtures will age beautifully outdoors.
Fixture Placement for Effective Landscape Lighting Design
Placement is critical for impact. For example, when uplighting a tree, place the fixture a few feet away from the trunk, pointing upwards, to get a nice spread on the canopy. For path lights, spacing them 6-8 feet apart usually works well, depending on their lumen output and beam spread. I’ve seen this mistake a lot: people place path lights too close together, making the path look like an airport runway, which is often too bright and distracting. Remember, it’s about creating pockets of light, not uniform brightness everywhere.
Powering Your System: Low Voltage vs. Line Voltage
When you design a landscape lighting system for home, you’ll primarily choose between low voltage (12V) and line voltage (120V) systems. Each has its pros and cons.
| Pros | Cons |
|---|---|
| Low Voltage (12V) | |
| Easier and safer to install for DIYers | Less powerful, limited run lengths |
| Wires can be buried shallowly (6-12 inches) | More fixtures needed for large areas |
| Lower energy consumption generally | Can be more expensive per fixture initially |
| Safer for pets and children | |
| Line Voltage (120V) | |
| More powerful, fewer fixtures needed | Requires professional installation for safety |
| Can illuminate very large trees or areas | Wires must be buried deeper (18-24 inches) |
| Can be more cost-effective for large projects | Higher safety risk if not installed correctly |
| Higher energy consumption |
Most homeowners opt for low-voltage systems for their ease of installation and safety. However, for anything involving new wiring to the house or running line voltage directly to fixtures, I’d strongly recommend hiring a licensed electrician in your area. It’s worth every penny for peace of mind, knowing it’s done correctly and safely. They’ll ensure everything meets local electrical codes.
Installation Essentials for Your New Landscape Lighting System
Once you’ve chosen your fixtures and power type, it’s time for installation. Even with low-voltage systems, a thoughtful approach will save you headaches.
- Transformer Placement: Your low-voltage transformer needs to be mounted on a sturdy surface (like a wall) near a GFCI-protected outdoor outlet. Make sure it’s accessible but out of the way. It’s the heart of your system, converting your household voltage down to a safe 12V.
- Cable Runs: Lay out your main cable runs from the transformer to where your lights will be. Try to keep runs as short as possible to minimize voltage drop, which can make lights at the end of a long run appear dimmer. You might need multiple runs for larger yards.
- Connecting Fixtures: Most low-voltage fixtures have simple connectors that clamp onto the main cable. Ensure a tight, secure connection to prevent moisture intrusion and power loss.
- Burying Wires: For low-voltage wires, you’ll want to bury them at least 6-12 inches deep to protect them from garden tools and foot traffic. If you’re going with line voltage, remember those wires need to be much deeper and encased in conduit, a job definitely for a professional electrician. They’ll know the exact depth and conduit requirements for your local area.
Common Mistakes to Avoid When You Design a Landscape Lighting System for Home
- Underpowering the transformer: Always add up the total wattage of all your fixtures and choose a transformer with at least 20% more capacity. This gives you room to expand later.
- Poor wire connections: Loose connections lead to dim lights and flickering. Use high-quality, waterproof connectors.
- Ignoring light temperature: Most outdoor lighting is warm white (2700K-3000K), which creates a cozy, inviting glow. Cooler temperatures (4000K+) can look harsh in a residential setting.
- Not considering seasonal changes: Trees lose their leaves, shrubs grow. Plan your
landscape lighting designso it still looks good year-round. You might need to adjust fixture positions over time.
Smart Controls and Automation
Modern landscape lighting design isn’t just about static lights; it’s about smart control. Incorporating timers, dimmers, and even smart home integration can elevate your outdoor experience.
- Timers: The simplest form of automation. Set your lights to turn on at dusk and off at a specific time, or even at dawn. It’s energy-efficient and means you never forget to turn them on or off.
- Dimmers: Adding dimmers allows you to adjust the intensity of your lights, perfect for setting different moods. Brighten them for a party, dim them for a quiet evening.
- Smart Home Integration: Many modern lighting systems can connect to your existing smart home setup (like Google Home or Alexa). This lets you control your lights with voice commands, schedule scenes, or integrate them with other smart devices, like security cameras. It truly lets you personalize your
landscape lighting designexperience.
Frequently Asked Questions
What’s the best wattage for path lights?
For most residential path lights, 7-10 watts (for halogen) or 2-3 watts (for LED) is usually sufficient. You want enough light to see the path, but not so much that it creates glare or detracts from the surrounding landscape.
Can I mix different brands of lights?
Yes, generally you can mix different brands of low-voltage lights as long as they operate on the same 12-volt system and you match the lamp types (e.g., all LED or all halogen). However, for consistency in light color and quality, many people prefer to stick to a single brand for their main fixtures.
How deep should I bury the wires?
For low-voltage landscape lighting wires, burying them 6-12 inches deep provides adequate protection from typical gardening activities. If you anticipate heavy digging or machinery, deeper burial or conduit might be necessary. Line voltage wires require much deeper burial and often conduit, which a licensed electrician can advise on.
Should I use LED or halogen for outdoor lighting?
LED is almost always the better choice these days. LEDs consume significantly less energy, have a much longer lifespan (tens of thousands of hours), and produce less heat. While the initial cost might be slightly higher, the long-term savings on energy bills and replacement bulbs make them a more economical and environmentally friendly option.
How do I maintain my system?
Regular maintenance includes cleaning fixture lenses to remove dirt and debris, checking for loose connections, trimming foliage that might be blocking light, and occasionally adjusting fixture positions as plants grow. You should also regularly inspect wires for any damage.
Creating a beautiful outdoor ambiance with thoughtful landscape lighting design really elevates your home. It makes your yard safer, more inviting, and usable long after the sun goes down. Take your time with the planning, choose quality fixtures, and don’t hesitate to reach out to a professional when needed.