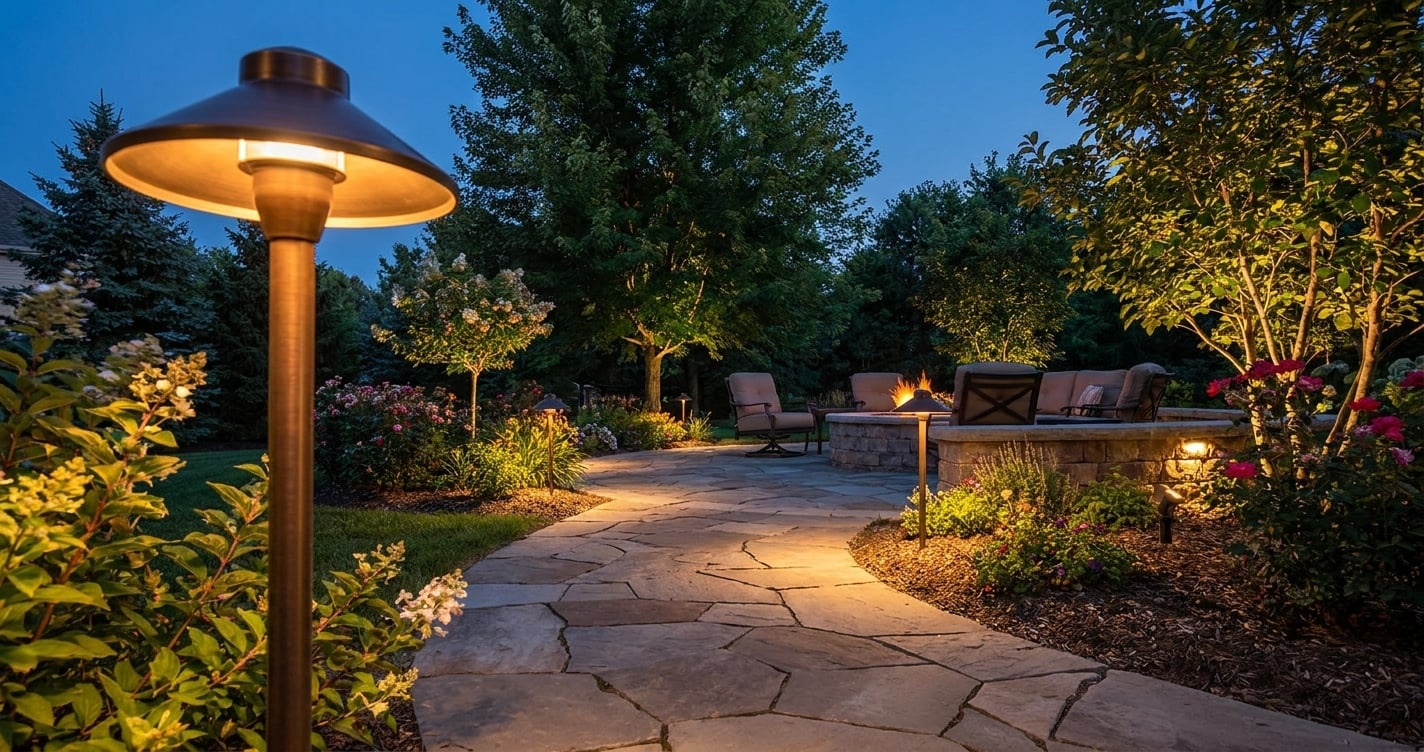
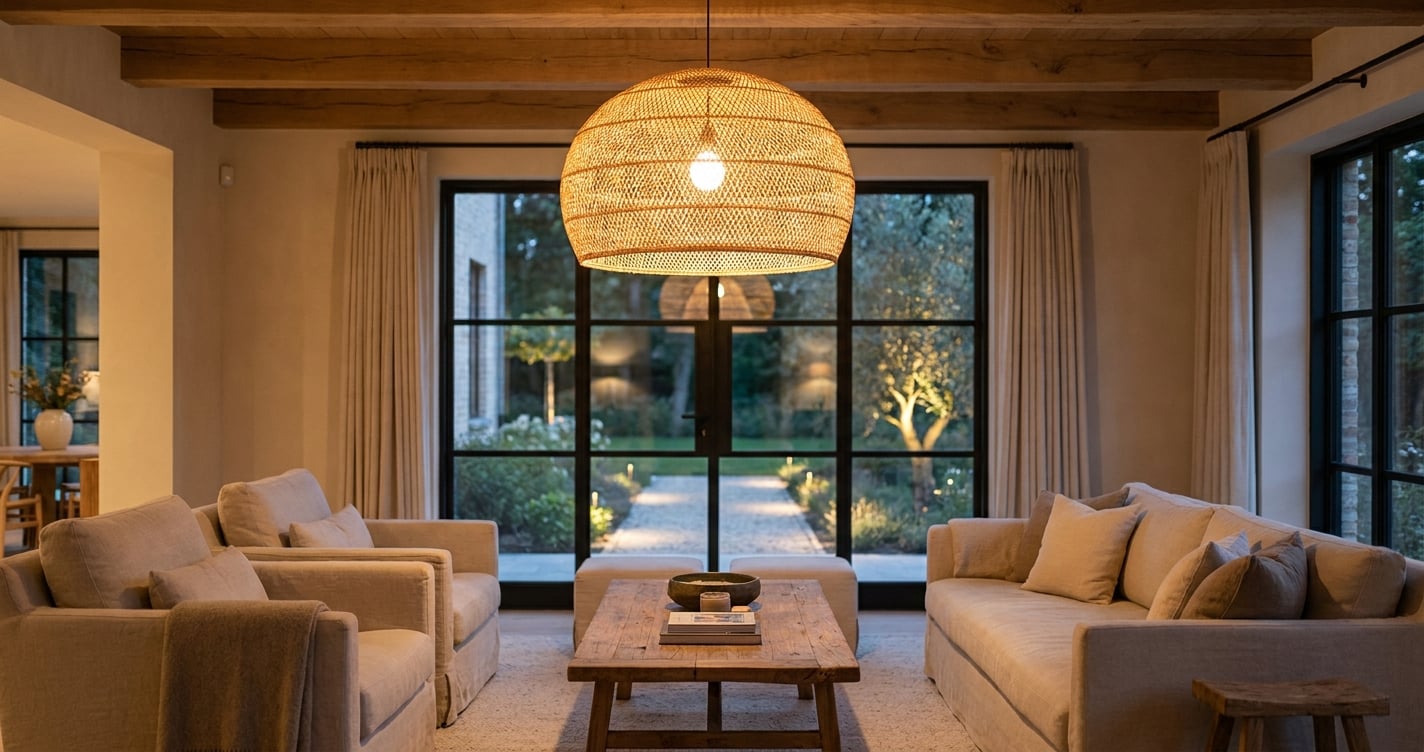
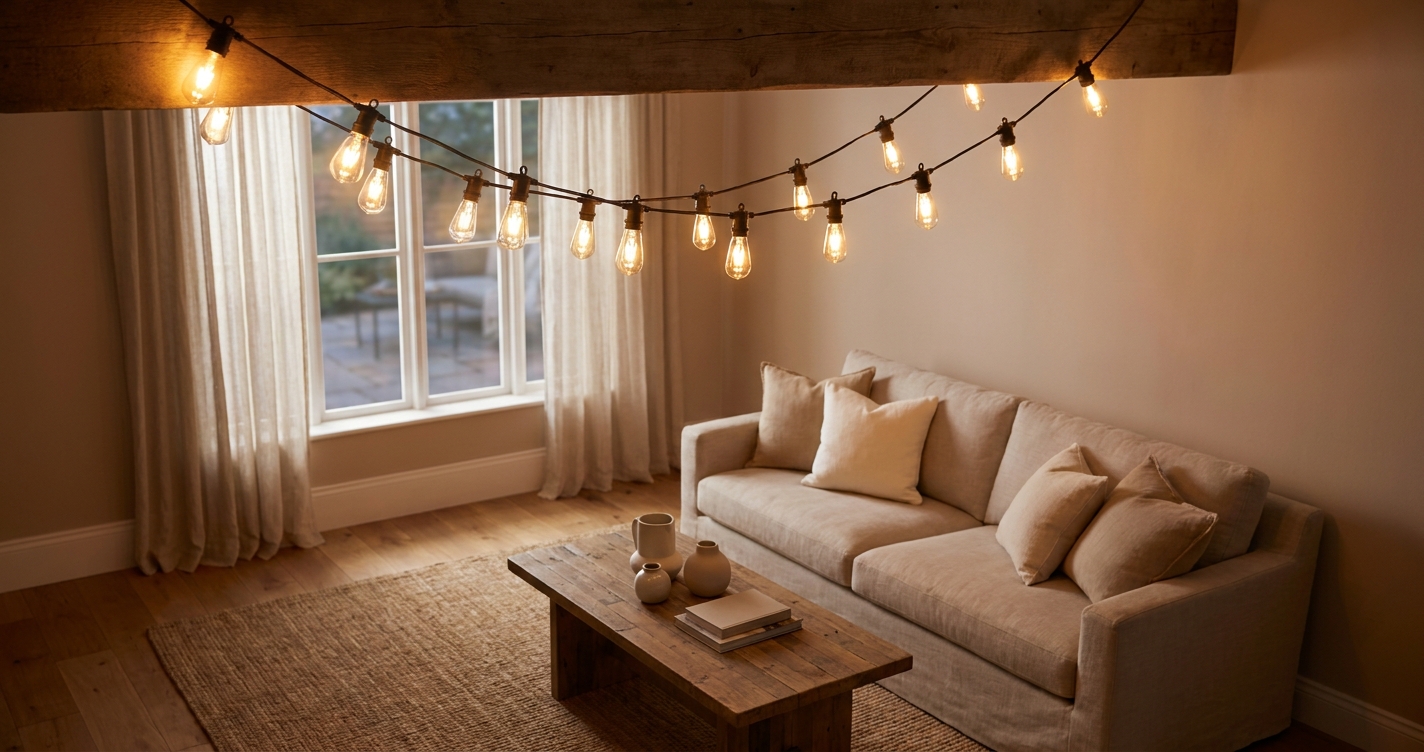
Imagine stepping into your yard after sunset, and instead of a dark, formless space, you’re greeted by beautifully illuminated pathways, accent trees, and welcoming entryways. That’s the magic of a well-executed landscape lighting install. It’s not just about visibility, it’s about creating mood, highlighting features, and extending your living space outdoors. If you’ve been dreaming of transforming your evenings but feel intimidated by the process, this diy landscape lighting installation guide for homeowners is here to help. You’ll find that with a little planning and the right tools, achieving a stunning landscape lighting install is definitely within reach.
Planning Your Outdoor Lighting Masterpiece
Before you even think about buying fixtures or digging trenches, you’ve got to plan. Skipping this step is, in my experience, the number one error people make, and it often leads to disappointing results. A good plan isn’t just about where lights go; it’s about what you want to achieve. Do you want to illuminate a path for safety, highlight a specific tree, or wash a wall with soft light? Each goal requires a different type of fixture and placement.
Start by sketching your yard, marking existing features like trees, shrubs, patios, and walkways. Then, grab a flashlight and walk your yard at night. Shine the light on different elements from various angles. This helps you visualize what works and what doesn’t. You’ll quickly see areas that need task lighting (like steps) versus areas that need accent lighting (like a fountain). Don’t forget to think about how your outdoor spaces connect to your home’s interior views.
Types of Landscape Lighting Effects
Understanding the different effects you can create is key to a professional landscape lighting install. You’re not just throwing light around, you’re painting with it.
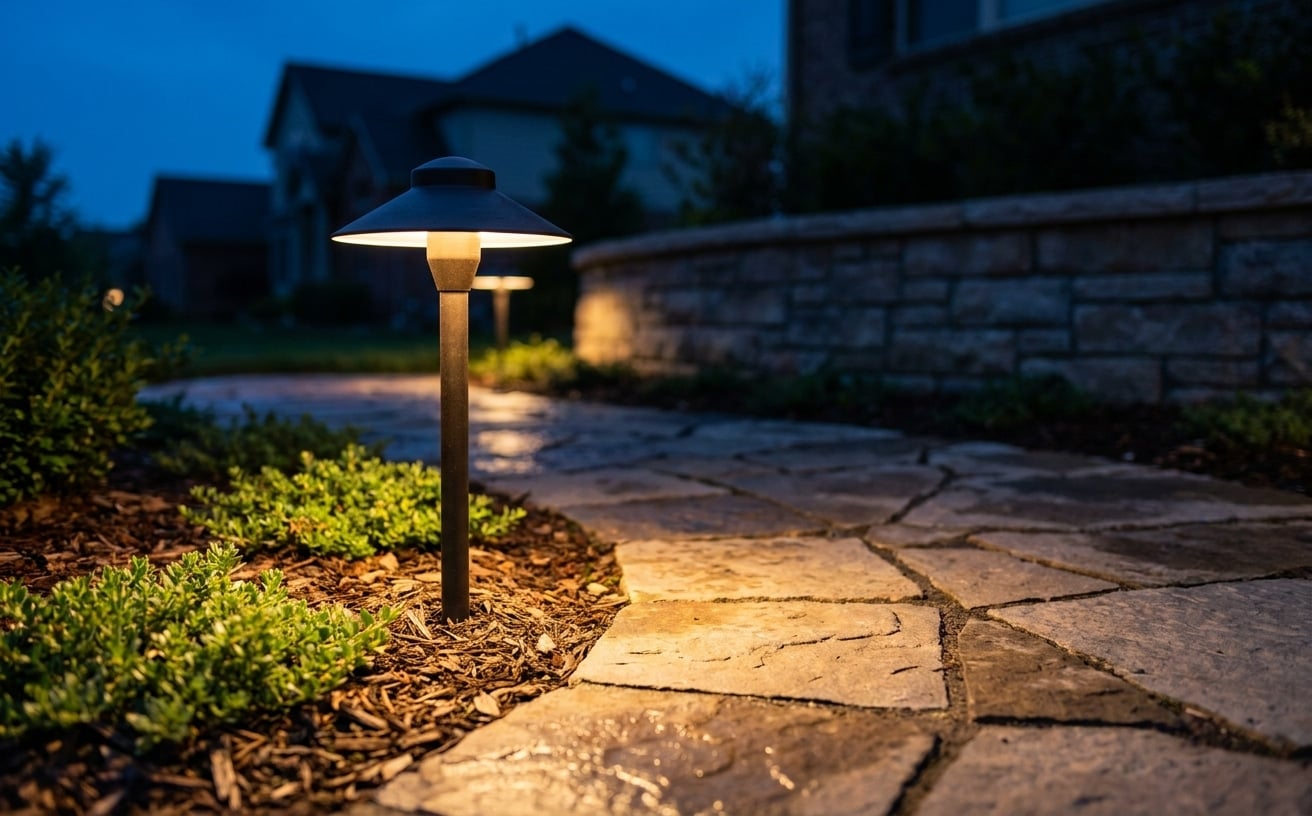
- Path Lighting: These fixtures gently illuminate walkways, making them safe and inviting. They typically stand 18-24 inches tall.
- Spotlighting: Bright, focused beams highlight specific features like a beautiful tree, a statue, or architectural details on your home.
- Uplighting: Similar to spotlighting, but the light source is placed at the base of an object and shines upwards, creating dramatic shadows and emphasizing height.
- Downlighting (Moonlighting): Fixtures mounted high in trees shine downwards, mimicking natural moonlight and casting soft, dappled shadows.
- Wash Lighting: A broader, softer light that gently illuminates walls, fences, or garden beds.
- Step Lighting: Small, discreet fixtures built into steps or risers for safety and aesthetic appeal.
Expert Tip: For a truly layered look, don’t just use one type of light. Combine path lights with uplights on trees and a few wash lights on a hedge. This creates depth and visual interest that’s much more dynamic than a single approach.
Choosing the Right Fixtures and Power Source
Most DIY landscape lighting install projects use low-voltage (12V) systems. This is because they’re much safer and easier for homeowners to install without needing a licensed electrician for the main wiring run. Low-voltage systems use a transformer to convert your home’s 120V power down to a safe 12V. Line voltage (120V) systems are an option, but they require direct burial wire and often necessitate professional installation due to the higher voltage and code requirements. For anything involving new line voltage wiring or running power directly from your home’s main electrical panel, I’d strongly recommend hiring a licensed electrician in your area, it’s worth every penny for peace of mind.
Low-Voltage vs. Line-Voltage
| Pros (Low-Voltage) | Cons (Low-Voltage) |
|---|---|
| Safer for DIY install | Requires a transformer |
| Easier to move/adjust | Less powerful light output |
| Lower energy consumption | Max cable run length limited |
| More flexible design options | Can be affected by voltage drop |
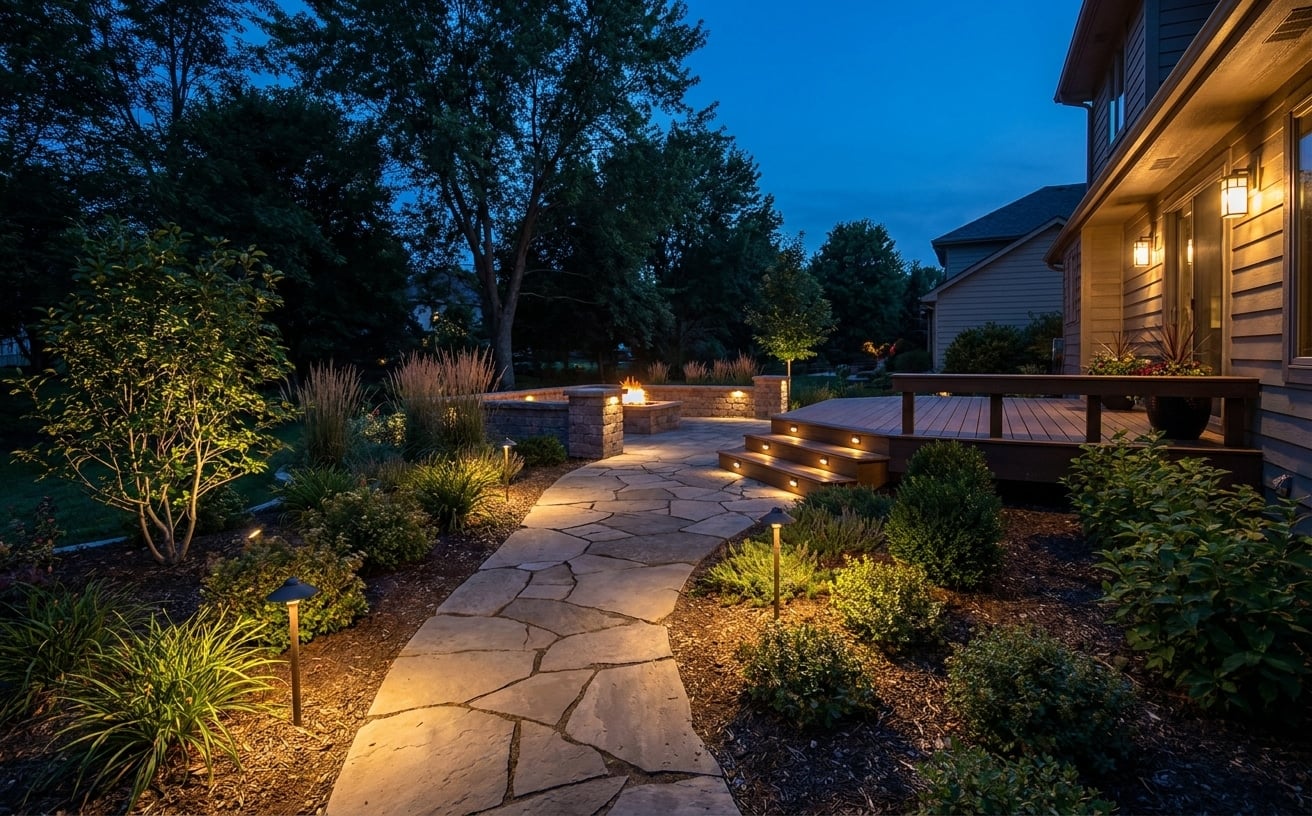
When selecting fixtures, consider the material. Durable materials like brass, copper, or powder-coated aluminum will withstand the elements better than plastic options. Look for fixtures with a good ingress protection (IP) rating, indicating their resistance to dust and water. For example, an IP65 rating means the fixture is dust-tight and protected against water jets. If you’re shopping for outdoor lighting, our outdoor lighting collection has a range of options at different price points, all designed to stand up to the elements.
Essential Tools and Materials for Your Landscape Lighting Install
Having the right gear makes a huge difference in how smoothly your project goes. You won’t need a massive toolbox, but these items are pretty standard for a successful diy landscape lighting installation guide for homeowners:
- Transformer: This is the heart of your low-voltage system. Choose one with enough wattage to power all your fixtures. Add up the total wattage of your planned lights and multiply by 1.25 for a 25% buffer.
- Low-Voltage Cable: Typically 12- or 14-gauge, direct-burial rated wire. The thicker the gauge (lower number), the less voltage drop you’ll experience over longer runs.
- Lighting Fixtures: Your chosen path lights, spot lights, flood lights, etc.
- Wire Strippers: To prepare cable ends for connections.
- Wire Connectors: Waterproof, gel-filled connectors are a must for outdoor use.
- Spade Shovel or Trencher: For burying the cable. A small trenching tool or a flat-edge spade works well.
- Measuring Tape: For accurate placement.
- Landscape Staples or Wire Clips: To temporarily hold cable in place before burying.
- Multimeter (optional but helpful): To test for voltage and continuity.
- Timer (optional): To automate when your lights turn on and off.
The Landscape Lighting Install Process
Once you’ve got your plan and your materials, it’s time to get your hands dirty. This is where your vision truly comes to life.
1. Lay Out Your Design
Start by placing all your fixtures in their approximate locations according to your plan. Don’t secure anything yet, just get them where they’ll go. Unroll your low-voltage cable and lay it out along the planned paths, connecting the fixtures as you go. You’ll want to run the cable discreetly, often along garden beds or under shrubs. It’s often easier to run a main trunk line and then branch off to individual fixtures.
2. Connect the Fixtures
Most low-voltage fixtures come with easy-to-use cable connectors. You’ll typically strip a small section of insulation from your main cable, then attach the fixture’s lead wires to the exposed copper using the supplied connector. Make sure all connections are tight and secure. For any connections that don’t come with pre-filled gel connectors, use waterproof, silicone-filled wire nuts to prevent moisture from corroding the connections. This step is crucial for the longevity of your landscape lighting install.
3. Position the Transformer
Your transformer needs to be mounted in a convenient location near a GFCI (Ground Fault Circuit Interrupter) protected outdoor outlet. It should be easily accessible but out of the way, usually mounted to the side of your house, a fence post, or a deck railing. Make sure it’s at least 12 inches off the ground to protect it from standing water and snow.
4. Connect to Power for Your Landscape Lighting Install
Once all your fixtures are connected to the main low-voltage cable, run the end of that cable to your transformer. Strip the ends of the cable and securely attach them to the designated low-voltage terminals on the transformer. Double-check all connections to ensure they’re snug. Plug in the transformer and give your lights a test run! Make any adjustments to fixture aiming or placement before burying the wires. If you’re unsure about any electrical connections, or if your transformer requires hardwiring instead of simply plugging into an outlet, it’s always best to consult with a licensed electrician. They can ensure everything is installed safely and up to code.
5. Bury the Cables
After you’ve tested everything and you’re happy with the layout, it’s time to bury the low-voltage cables. You don’t need to dig a deep trench. A depth of 6-8 inches is usually sufficient to protect the cables from everyday garden activities like raking or light digging. Use a spade shovel or a trenching tool to create a shallow trench. Lay the cable in, then backfill with soil. I’ve seen this mistake a lot, people just lay the wires on top of the ground, and they quickly get damaged by pets, gardening tools, or even just UV exposure. Don’t skip burying them!
Testing, Adjusting, and Maintenance
After your initial landscape lighting install, take some time to fine-tune everything. Walk your yard at night. Do the lights create the effect you envisioned? Are there any dark spots? Adjust the aim of spotlights, move path lights slightly, and don’t be afraid to experiment. Many fixtures have adjustable heads, making this process pretty simple.
Routine Maintenance for Your Landscape Lighting Install
- Clean Fixtures: Periodically wipe down fixture lenses to remove dirt, dust, and hard water spots. This maximizes light output.
- Check Connections: Every year or so, quickly inspect wire connections for any signs of corrosion or damage.
- Prune Plants: Overgrown plants can block light and create unwanted shadows. Keep them trimmed around your fixtures.
- Replace Bulbs (if not LED): If you’re not using integrated LED fixtures, replace bulbs as needed. Consider upgrading to LED bulbs for energy efficiency and longer life.
- Adjust for Growth: As trees and shrubs grow, you may need to reposition or re-aim fixtures to maintain the desired effect.
Frequently Asked Questions
How deep should I bury the cables for a landscape lighting install?
For low-voltage landscape lighting, burying cables 6 to 8 inches deep is generally sufficient. This protects them from most surface disturbances like raking or digging. You don’t need to go as deep as you would for line-voltage electrical lines, which often require 18-24 inches.
Can I mix different brands of low-voltage lights?
Yes, you can generally mix different brands of low-voltage lights as long as they operate on the same 12V system. The key is to ensure your transformer has enough wattage to power all the combined fixtures. Always check individual product specifications to be certain.
How do I figure out what size transformer I need?
Add up the total wattage of all the lights you plan to connect. Then, add a 25% buffer to that sum. For example, if your lights total 200 watts, you’d want a transformer that’s at least 250 watts (200 x 1.25). This buffer accounts for voltage drop and future additions.
What causes landscape lights to dim?
Dimming lights are usually a sign of voltage drop. This happens when your wire run is too long for its gauge, or if you have too many lights on a single run. Using a heavier gauge wire (like 12-gauge instead of 14-gauge) for longer runs, or distributing your lights across multiple wire runs from the transformer, can help.
Is it really worth it to do a diy landscape lighting installation guide for homeowners?
Absolutely! While hiring a professional has its perks, tackling a landscape lighting install yourself gives you immense satisfaction and saves you a lot on labor costs. With careful planning and the right tools, you can create a beautiful, professional-looking outdoor lighting scheme that truly transforms your home.
A beautiful yard doesn’t have to disappear when the sun goes down. With a bit of effort, you can create a magical outdoor space that you’ll enjoy year-round. Don’t hesitate to explore our extensive selection of outdoor lighting fixtures to find the perfect pieces for your project.