A beautifully lit yard isn’t just about showing off your home; it’s about creating a welcoming atmosphere, enhancing safety, and extending your living space outdoors long after the sun goes down. If your yard vanishes into darkness each evening, it’s time to learn how to create a stunning outdoor landscape lighting plan. This expert guide will walk you through the essential steps, from design considerations and smart fixture placement to practical installation tips, helping you transform your outdoor areas. You’ll discover how to bring your vision to life and ensure your home shines brightly.
Why a Good Landscape Lighting Plan Matters
Before you even think about buying fixtures, it’s crucial to understand why a thoughtful landscape lighting plan is a game-changer. It’s not just about throwing a few lights around; it’s about intention. A well-designed plan adds significant curb appeal, making your home look more inviting and polished. It also improves safety by illuminating pathways and steps, preventing nighttime stumbles.
Beyond aesthetics and safety, a good landscape lighting plan boosts security. Brightly lit areas deter potential intruders, giving you greater peace of mind. Plus, it allows you to enjoy your patio, deck, or garden much later into the evening. You’ll find yourself spending more time outside, even after sunset, because your yard feels like another room in your home.
Step One: Assess Your Space and Needs
The first step to create a landscape lighting design plan is to truly understand your outdoor space. Grab a notepad, a flashlight, and head outside after dark. Walk around your property as if you were a guest arriving for the first time. What areas are completely black? What architectural features of your home or landscaping elements would you like to highlight?
Think about how you use your yard. Do you have a favorite tree you want to feature? A pathway that feels unsafe? A patio where you entertain? Jot down these points. This nighttime walk helps you identify problem spots and opportunities for dramatic effect, forming the foundation of your initial landscape lighting plan. You’ll want to sketch out a rough map of your yard, marking key features like trees, shrubs, pathways, and seating areas.
Expert Tip: Don’t just focus on what you want to light. Also, consider areas you want to keep dark or dimly lit to create contrast and mystery. Too much light can flatten a scene, so think about shadows as part of your design.
Choosing the Right Fixtures for Your Landscape Lighting Plan
Once you’ve assessed your space, it’s time to match your needs with the right types of fixtures. There’s a wide variety, and each serves a specific purpose in your overall landscape lighting plan. You’ll want to select fixtures that not only perform well but also blend seamlessly with your outdoor aesthetic during the day.
Here are some common types of outdoor lighting fixtures and their uses:
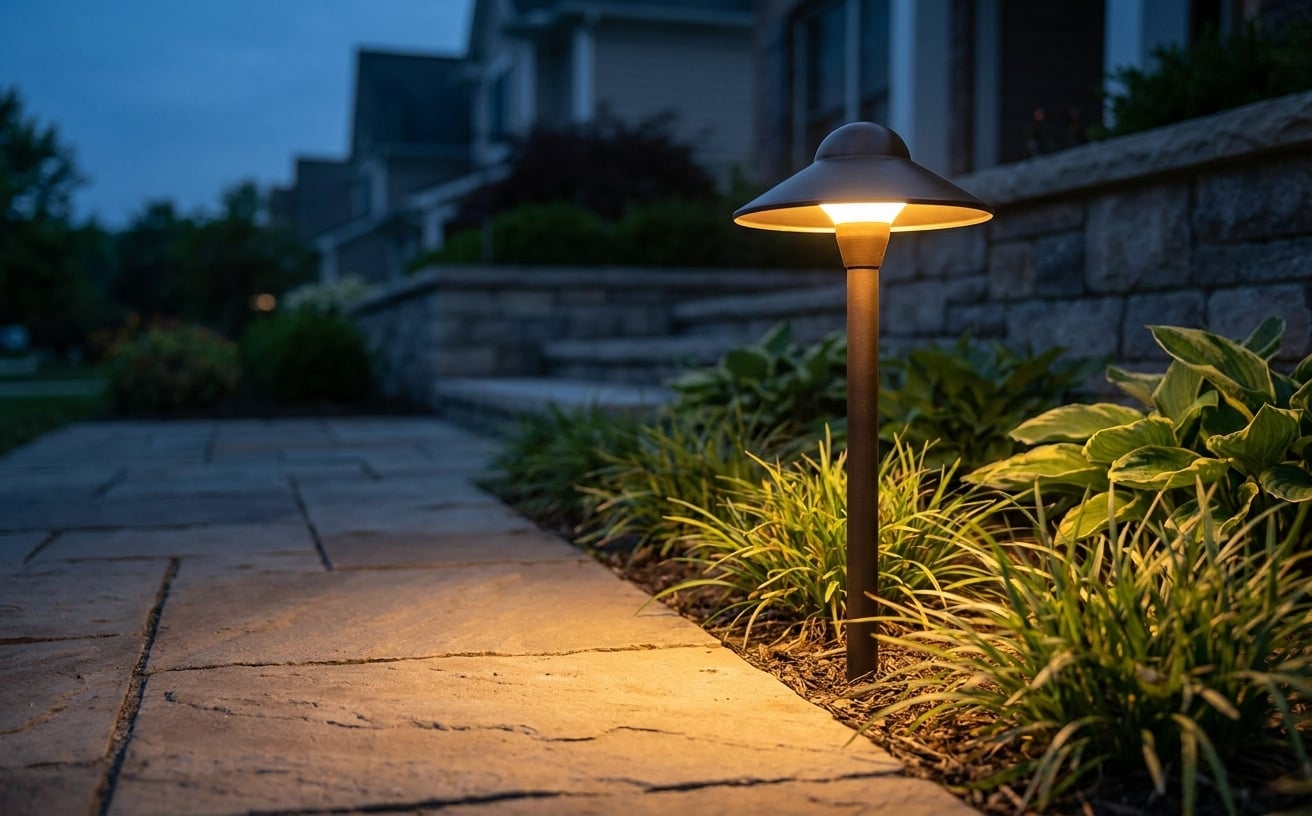
- Path Lights: These usually stand 18-24 inches tall and cast a soft, downward glow. They’re perfect for illuminating walkways, garden borders, and driveways, ensuring safe passage.
- Spotlights: Designed to highlight specific features, spotlights have a focused beam. Use them to accent beautiful trees, architectural details on your home, or statues. You’ll find them in various wattages and beam spreads.
- Flood Lights: These offer a broader, more diffuse light than spotlights. They’re great for general area illumination, like washing a large wall or providing ambient light to a patio. Just be careful not to create harsh glares.
- Well Lights: Buried flush with the ground, these fixtures are subtle and powerful. They’re excellent for uplighting trees or walls from below, creating a dramatic, unseen light source.
- Deck and Step Lights: These smaller, often recessed fixtures are specifically designed for safety on decks, stairs, and railings. They provide just enough light to see where you’re stepping without being intrusive.
- Hardscape Lights: These compact fixtures tuck under capstones, benches, or retaining walls, casting a warm glow downwards or across a surface. They’re fantastic for subtle illumination of built-in features.
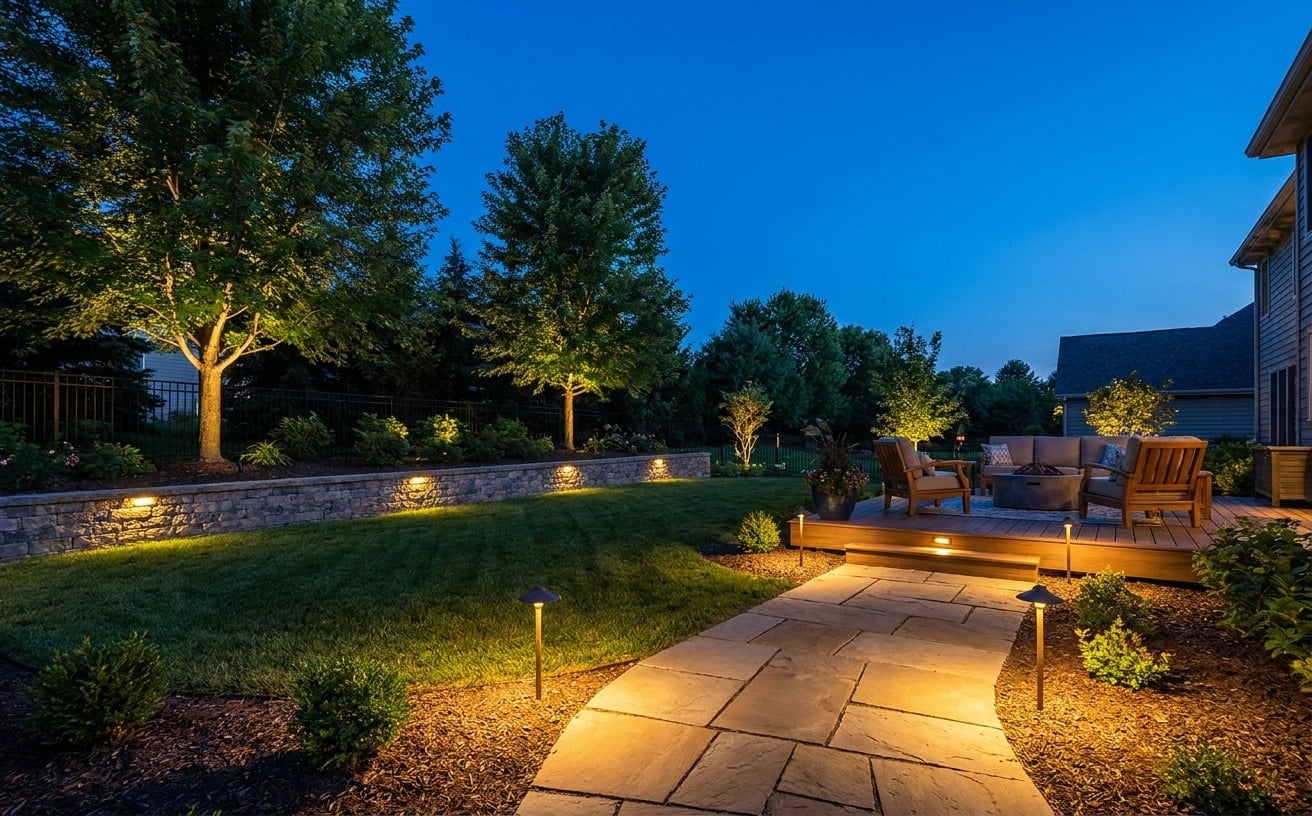
When you’re shopping for fixtures, our outdoor lighting collection has a range of options at different price points. It’s wise to invest in durable, weather-resistant materials like brass, copper, or powder-coated aluminum, as they’ll withstand the elements much better.
Understanding Fixture Placement and Techniques
Knowing where to put your lights is just as important as knowing what kind of lights to use. Effective placement creates depth, visual interest, and functionality. Here are some techniques you’ll want to consider for your landscape lighting plan:
- Uplighting: Placing a spotlight at the base of a tree or wall, shining upwards. This highlights the texture of bark or stone and creates dramatic shadows.
- Downlighting (Moonlighting): Mounting a light high up in a tree, shining downwards. This mimics natural moonlight, casting gentle shadows and a soft, ambient glow over a wider area. It’s beautifully subtle.
- Grazing: Positioning a light very close to a textured surface (like a stone wall or fence) and shining it upwards or downwards. This emphasizes the texture and dimension of the surface.
- Washing: Using a floodlight to provide broad, even illumination across a flat surface, like a facade or a large hedge. The goal here is smooth, uniform light without hotspots.
- Silhouetting: Placing a light source behind an object (like a shrub or a statue) and aiming it towards a wall or fence. This creates a striking silhouette of the object against a lit background.
- Shadowing: The opposite of silhouetting, this involves placing a light in front of an object, aiming it towards a backdrop. This casts a dramatic shadow of the object onto the surface behind it.
Planning Your Landscape Lighting Plan Zones
Think about your yard in zones. You might have a “welcome zone” near your front door, a “dining zone” on your patio, and a “garden feature zone” around a favorite planting. Each zone might require a different level of brightness and types of fixtures. For example, your pathway lights need to be spaced consistently, usually every 6-8 feet, to ensure an even spread of light and prevent dark spots. For uplighting trees, consider using two or three fixtures per tree for a more balanced look, especially for larger specimens.
Powering Your Landscape Lighting Plan: Low Voltage vs. Line Voltage
When it comes to powering your outdoor lights, you’ve got two main choices: low voltage or line voltage. Understanding the difference is key to creating a safe and effective landscape lighting plan.
| Pros | Cons |
|---|---|
| Low Voltage (12V) | |
| Safer to install yourself, less risk of shock. | Requires a transformer to reduce household voltage. |
| Uses less energy, lower operating costs. | Shorter wire runs possible before voltage drop. |
| Easier to expand or reconfigure later. | Generally less bright than line voltage options. |
| Wider range of decorative fixtures. | |
| Line Voltage (120V) | |
| Brighter lights and longer wire runs possible. | Requires a licensed electrician for installation. |
| Can power heavier-duty fixtures. | Higher risk of electrical shock if not installed correctly. |
| No transformer needed at each lighting zone. | More complex and permanent installation. |
Most homeowners choose low-voltage lighting for their landscape lighting plan because it’s much safer and simpler to install. Low-voltage systems use a transformer to convert your home’s standard 120-volt electricity down to a much safer 12 volts. You can often handle the wiring yourself, though it’s still smart to follow all manufacturer instructions closely.
However, if you’re planning a very large installation, need exceptionally bright lights (like for security floodlights far from the house), or want to incorporate fixtures that require more power, line voltage might be considered. For anything involving new line-voltage wiring, or connecting directly to your home’s electrical panel, I’d strongly recommend hiring a licensed electrician in your area. It’s truly worth every penny for peace of mind and to ensure it’s done up to code. Messing with high voltage isn’t something you want to get wrong.
The Installation Basics: Bringing Your Landscape Lighting Plan to Life
You’ve got your plan, you’ve got your fixtures, now it’s time to make it real. Don’t rush this step; proper installation is key to a beautiful and lasting system.
- Lay Out Your Fixtures: Before you start digging or connecting anything, place all your lights where you intend them to go according to your landscape lighting plan. This lets you visually confirm the placement and make any last-minute adjustments. It’s much easier to move a light now than after it’s wired.
- Run the Main Cable: For low-voltage systems, run your main low-voltage cable from your transformer to the various lighting zones. You’ll want to bury this cable about 6-8 inches deep in a shallow trench to protect it from garden tools and foot traffic. Use a shovel or a trenching tool, being mindful of any existing underground utilities (always call 811 before you dig!).
- Connect Fixtures: Connect each light fixture to the main cable using appropriate connectors. Most low-voltage fixtures come with easy-to-use quick-connect clips. Ensure all connections are tight and waterproof.
- Install the Transformer: Mount your low-voltage transformer in an accessible, dry location near a GFCI-protected outdoor outlet. Garage walls or sturdy fences are common spots. Make sure it’s rated for the total wattage of all your lights combined, plus some extra for future expansion.
- Test and Adjust: Plug in your transformer and turn on the lights. Walk around and observe the effects. Are there any glares? Are the features you wanted to highlight truly standing out? Now is the time to adjust beam angles, reposition fixtures slightly, or even add a missing light if needed. Fine-tuning is what makes a good landscape lighting plan great.
- Add Controls: Consider adding a timer or smart home controls to your system. This allows your lights to turn on and off automatically at dusk and dawn, or on a schedule you set. It’s a small upgrade that makes a huge difference in convenience.
Remember, if you’re dealing with anything more complex than a simple low-voltage setup, especially if it involves new electrical circuits or modifying your home’s existing wiring, please consult a licensed electrician. They’ll ensure everything is up to code and perfectly safe for years to come.
Frequently Asked Questions
How many lights do I need for my yard?
There’s no single answer, as it depends on your yard’s size, features, and desired effect. Start by identifying your key features (3-5 per zone) and essential paths. Many homeowners find that 10-20 fixtures are sufficient for a typical suburban yard to create a good landscape lighting plan, but larger properties will naturally need more.
What’s the best spacing for path lights?
For even illumination, path lights should typically be spaced 6 to 8 feet apart. This prevents dark spots between fixtures and provides a consistent, welcoming glow. For a more dramatic or subtle effect, you can adjust this spacing, but always test it out before permanent installation.
Can I install landscape lighting myself?
Yes, most low-voltage landscape lighting systems are designed for DIY installation. The wiring is safe and doesn’t require complex electrical knowledge. However, for any line-voltage systems or if you need to run new electrical circuits from your main panel, always hire a licensed electrician to ensure safety and compliance.
How do I hide the wires?
For low-voltage systems, it’s best to bury the main cables 6-8 inches deep in a shallow trench to protect them from garden tools and minimize tripping hazards. For individual fixture wires, you can often tuck them under mulch, rocks, or along the edges of garden beds to make them virtually invisible.
Creating a beautiful outdoor lighting design plan for your home is a rewarding project that truly elevates your living space. We hope this guide empowers you to begin your journey. Browse our extensive outdoor lighting collection to find the perfect fixtures to illuminate your landscape.