Transforming your backyard or patio into a magical, inviting space doesn’t have to be complicated. If you’ve ever dreamt of dining under a canopy of soft, ambient light, you’ll know that outdoor string lights are often the secret ingredient. They add instant charm and warmth, turning a simple gathering into something truly special. But knowing how to hang outdoor string lights safely, and with style, is key. This guide will walk you through everything you need for a successful string light installation, ensuring your outdoor haven is both beautiful and secure.
Planning Your Perfect Patio Glow
Before you even unbox your lights, a little planning goes a long way. Think about the overall vibe you want to create. Are you aiming for a cozy bistro feel, a festive party atmosphere, or just some gentle illumination for evening relaxation? Your vision will guide your string light installation choices.
Measure Your Space Accurately
First things first, grab a tape measure. You’ll need to know the perimeter of your area, the distance between anchor points, and even the height you want your lights to hang. Don’t just eyeball it; that’s a common mistake I’ve seen lead to frustration later. Mark your intended anchor points with chalk or painter’s tape to visualize the path of your lights. This step is crucial for ordering the right length of strands and ensuring a smooth string light installation.
Consider Your Power Source
Where will your lights plug in? This is often overlooked until the last minute. You’ll need accessible outdoor outlets that are weather-rated and ideally GFCI-protected. If you don’t have enough, or they’re not in the right spot, you might need extension cords (also outdoor-rated) or even consider adding new outlets. For anything involving new wiring or a dedicated circuit, I’d strongly recommend hiring a licensed electrician in your area. It’s worth every penny for peace of mind and safety.
Visualize Your Design Style
There are several popular ways to arrange string lights, each offering a distinct look:
- Straight Lines: Simple and modern, running from one anchor point to another.
- Zigzag or “W” Pattern: Great for covering a wider area, creating a more dynamic feel.
- Canopy or “X” Pattern: Perfect for overhead coverage, forming a ceiling of light. This usually requires a central support point.
- Scalloped or Draped: A softer, more romantic look where lights hang with gentle curves between points.
Choosing the Right String Lights for Outdoor Use
Not all string lights are created equal, especially for outdoor string light installation. You’ll want to pick ones that can withstand the elements and provide the ambiance you desire.
Bulb Type and Brightness
- LED Bulbs: Energy-efficient, long-lasting, and cool to the touch. They’re usually more expensive upfront but save money over time. You’ll find them in various color temperatures, from warm white (2700K) to cooler tones.
- Incandescent Bulbs: Offer a classic, warm glow. They consume more energy and have a shorter lifespan. Many people love their traditional look.
- Shatterproof Bulbs: A fantastic option, especially for areas where lights might be bumped or where kids play. They’re typically made of plastic, not glass.
Weather Resistance (IP Rating)
This is non-negotiable for outdoor string light installation. Look for an IP (Ingress Protection) rating. For string lights, an IPX4 rating (or higher) means they’re protected against splashing water from any direction, making them suitable for general outdoor use. If you’re shopping for outdoor string lights, our outdoor lighting collection has a range of options at different price points, all designed to stand up to the elements.
Length and Connectability
Make sure the strands you choose are long enough for your design. Many outdoor string lights are designed to connect end-to-end, allowing you to cover larger areas with a single power source. Always check the maximum number of strands you can safely link together, as exceeding this can be a fire hazard.
Essential Tools and Materials for String Light Installation
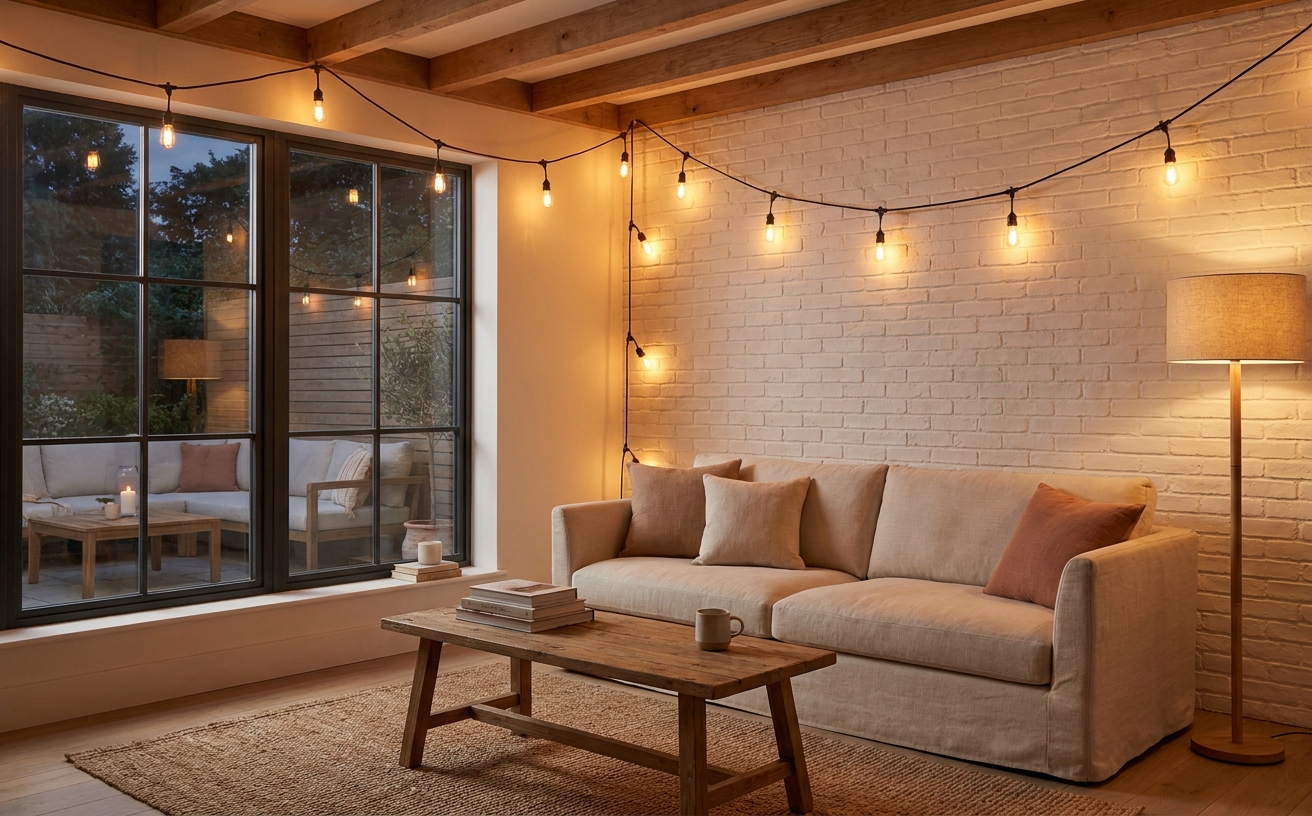
Having the right gear makes your string light installation much smoother and safer. You don’t need a full workshop, but a few key items are crucial.
- Tape Measure: For accurate planning, as discussed earlier.
- Ladder or Step Stool: To safely reach high anchor points.
- Drill and Drill Bits: If you’re installing screw hooks into wood or masonry.
- Pencil or Marker: To mark your anchor points.
- Outdoor-Rated Extension Cords: If your power source isn’t directly at an anchor point.
- Zip Ties or Electrical Tape: For securing lights to guide wires or structures.
- Guide Wire (Aircraft Cable) and Turnbuckles: Absolutely essential for longer spans or heavier lights to prevent sagging and stress on your fixtures.
- Screw Hooks or Eye Hooks: To attach guide wires to posts, walls, or fences.
- Cable Clips or Staples: To neatly secure power cords if needed.
Expert Tip: For any span longer than 15 feet, a guide wire is your best friend. It takes the tension off the string lights themselves, preventing sag and extending their lifespan significantly. Don’t skip this step for large areas; it’ll save you headaches down the line.
Popular Methods for String Light Installation
Now, let’s talk about the actual mechanics of how to hang outdoor string lights safely and stylishly. Your method will depend on your space and desired look.
The Post-to-Post Method
This is ideal if you have existing structures like a house wall, a deck railing, or robust fence posts. You simply run the lights (or more accurately, the guide wire) between these fixed points.
| Pros | Cons |
|---|---|
| Relatively easy setup | Requires existing sturdy anchor points |
| Clean, defined lines | Less flexible for unique shapes |
The Canopy or “X” Pattern Installation
Perfect for creating an overhead ceiling of light over a patio or seating area. This usually involves anchoring points around the perimeter and a central support.
Creating a Central Support for Your String Light Installation
If you don’t have a tree or pergola in the middle, you’ll need to create a central pole. You can anchor a sturdy wooden post in a planter with concrete, or use a ground spike designed for umbrellas. This central point becomes the hub for your canopy design. Remember, the pole needs to be tall enough to allow for clearance and some natural sag.
The Around-the-Perimeter Method
This involves attaching lights directly to fences, railings, or pergolas. It’s often the easiest string light installation method for smaller spaces or defining borders. Just be mindful of how the lights attach and ensure they’re secure without being under too much tension.
Step-by-Step Guide: Your String Light Installation Walkthrough
Let’s break down the process into manageable steps. This will focus on a guide wire method, which I highly recommend for durability and a professional finish.
-
Map Out Your Design: Using your measurements, mark where each anchor point will go. Consider the height. For walking areas, aim for at least 8 feet of clearance. For seating areas, 7 feet might be acceptable, but taller is usually better to avoid bumped heads.
-
Install Anchor Points:
- For wooden posts or walls, pre-drill a small pilot hole, then twist in sturdy screw hooks or eye bolts. Ensure they’re rated for outdoor use and strong enough to hold tension.
- If you’re using dedicated posts, make sure they’re firmly planted or secured. For large spans, you might even consider adding a small brace.
-
Run the Guide Wire: This is a crucial step for a durable string light installation.
- Attach one end of your aircraft cable to an anchor point using a cable clamp.
- Run the guide wire along your planned path, threading it through any intermediate anchor points if your design requires them.
- At the final anchor point, use a turnbuckle to attach the guide wire. This allows you to tighten the wire properly, taking out any sag. You want it taut, but not so tight that it stresses your anchor points.
-
Attach the String Lights to the Guide Wire:
- Hang your string lights after the guide wire is in place. This prevents tension on the light’s wiring.
- Use zip ties, S-hooks, or small carabiners to attach the lights to the guide wire. Space them out every few feet to distribute the weight evenly. Many outdoor string lights have small loops above each bulb specifically for this purpose.
- Ensure the bulbs hang freely and aren’t pressing against the guide wire or other structures.
-
Connect to Power:
- Plug in your string lights. If you’re using extension cords, make sure they’re outdoor-rated and the connections are tightly sealed (you can use waterproof connection boxes for added protection).
- Avoid creating tripping hazards with cords. Route them along walls, under rugs, or use cable covers.
-
Test and Adjust:
- Turn on your lights and admire your handiwork!
- Check for any areas that sag too much or where the lights aren’t evenly spaced.
- Adjust the turnbuckles on your guide wire if needed to fine-tune the tension.
Important Safety Considerations for Your Outdoor Lights
While string light installation is generally straightforward, safety should always be your top priority. You’re dealing with electricity outdoors, after all.
- Use Outdoor-Rated Products Only: I can’t stress this enough. Every component, from the lights themselves to extension cords and timers, must be explicitly rated for outdoor use. Look for labels like “UL Listed for Wet Locations” or an appropriate IP rating.
- Don’t Overload Circuits: Know your circuit’s capacity and the wattage of your lights. If your lights dim or trip a breaker, you’re overloading the circuit. Divide your lights between different outlets or consider lower-wattage bulbs.
- Secure Connections: Ensure all plugs and connections are tight and protected from moisture. Waterproof connection boxes are inexpensive and provide excellent peace of mind.
- Avoid Tripping Hazards: Route power cords carefully. Don’t let them sprawl across walkways or seating areas.
- Inspect Regularly: Periodically check your lights for frayed wires, cracked bulbs, or loose connections. Weather can be tough on outdoor electrical items.
For any electrical work beyond simply plugging in, like installing new outdoor receptacles or permanent wiring for your string light installation, it’s always best to consult a licensed electrician. It’s a small investment for your family’s safety and peace of mind.
Frequently Asked Questions
How high should I hang outdoor string lights?
For general walkways and areas where people will stand, aim for at least 8 feet of clearance to prevent anyone from bumping their head. Over seating areas, you can go slightly lower, around 7 feet, but higher often feels more open and elegant.
Can I leave string lights out all year?
It depends on their weather rating. High-quality, outdoor-rated string lights (with an IPX4 rating or higher) can typically be left out year-round in most climates. However, inspecting them periodically for wear and tear is always a good idea, especially after harsh weather.
Do string lights use a lot of electricity?
This largely depends on the bulb type. LED string lights are very energy-efficient and use significantly less electricity than incandescent ones. You can often run many strands of LEDs without seeing a noticeable jump in your power bill.
How do I connect multiple strands of string lights?
Most outdoor string lights are designed with end-to-end connectors. You simply plug the male end of one strand into the female end of the next. Always check the manufacturer’s instructions for the maximum number of strands you can safely connect in a series.
Creating a beautiful and inviting outdoor space with string lights is a rewarding project. With careful planning and the right approach to string light installation, you’ll be enjoying evenings under their warm glow in no time. If you’re looking for the perfect set of lights to get started, feel free to browse our full collection.